Introduction
In this article, I'll demonstrate why we wanted to create an OpenAPI spec in the first place by using the spec to create a mock API and automatically generate documentation.
Simultaneously, I'll explore a couple of helpful tools (Postman, Swaggerhub, FastAPI) that help with mocking and documentation.
Finally, I'll show how I could integrate the API into the front-end and back-end before writing a single line of code for the API.
Docs
Generating API documentation with an OpenAPI specification is a no-brainer. Many tools automatically format the documentation and make it readable. Furthermore, there are online tools that make it easy to publish and view documentation.
Let's review a couple of the tools that I explored and what I liked or disliked about them.
Swaggerhub
If you used Swaggerhub as I did in the previous blog post, you would have noticed that the tool created documentation as we wrote the document.
This is a nice feature, even if it's just emotionally appealing to see the document built-in real-time. However, this is also where people can come to view the API after the spec is published.
I published the first version, and the docs were available on Swaggerhub in Read-Only mode. I made it public so, if I wanted, I could invite others to see the documentation for version 1.0.0.
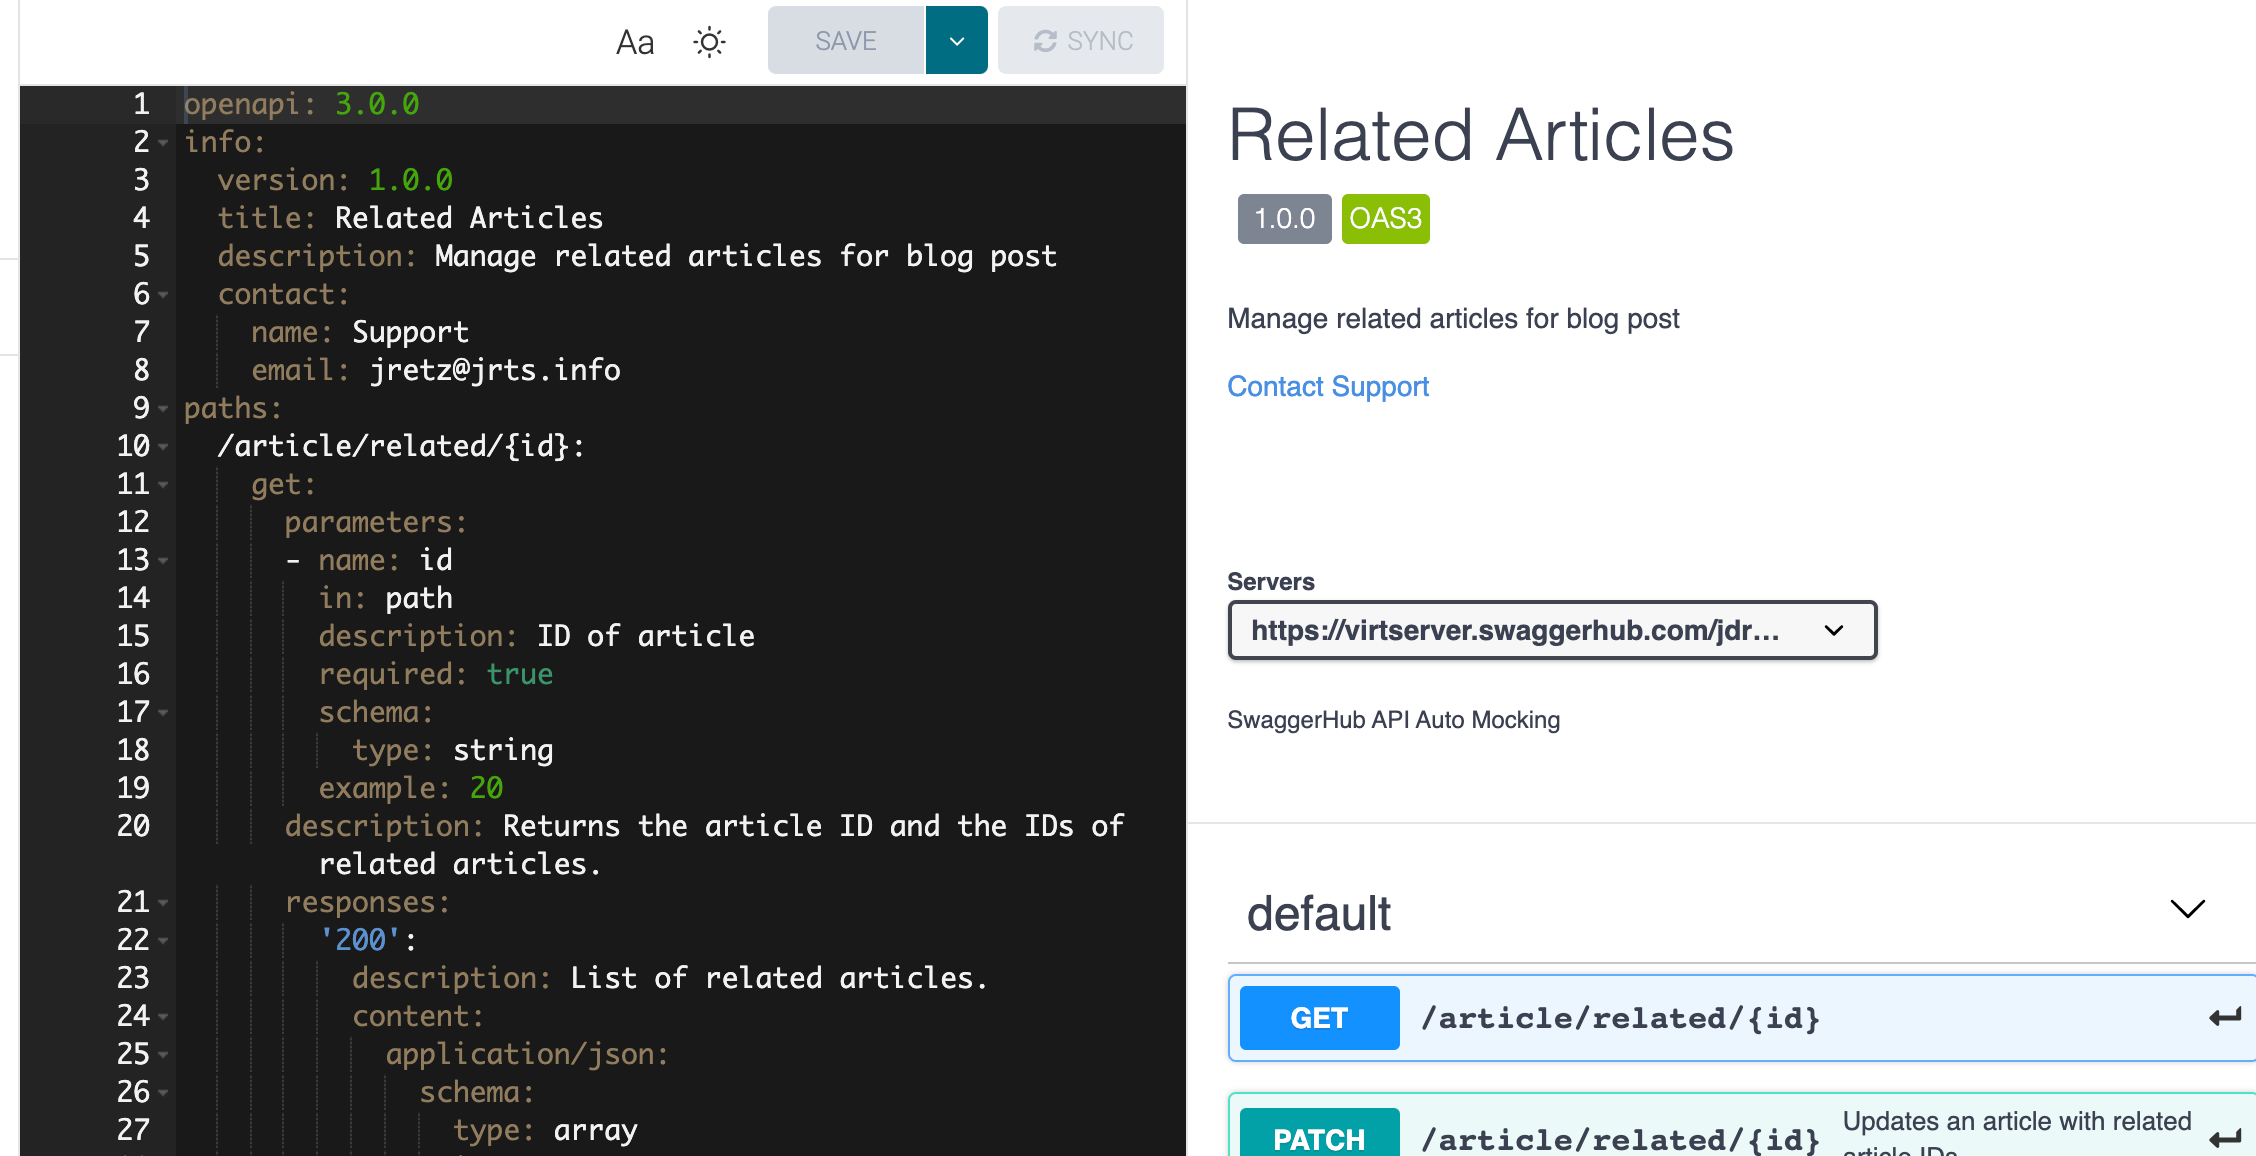
Another bonus to this tool (also a feature of FastAPI) is the docs are interactive. Each route has a Try It Out button that fires off a request returning a mock response.
Having the docs published on the web lets others view the docs and serves as a reference for all involved.
Postman
Postman was my first introduction to APIs and specifications. Since then, they have added many features through the cloud and mocking (we'll talk about it in the next section).
After uploading the OpenAPI spec to Postman, I created a collection based on the routes defined in the spec and view documentation (again, created from the spec).
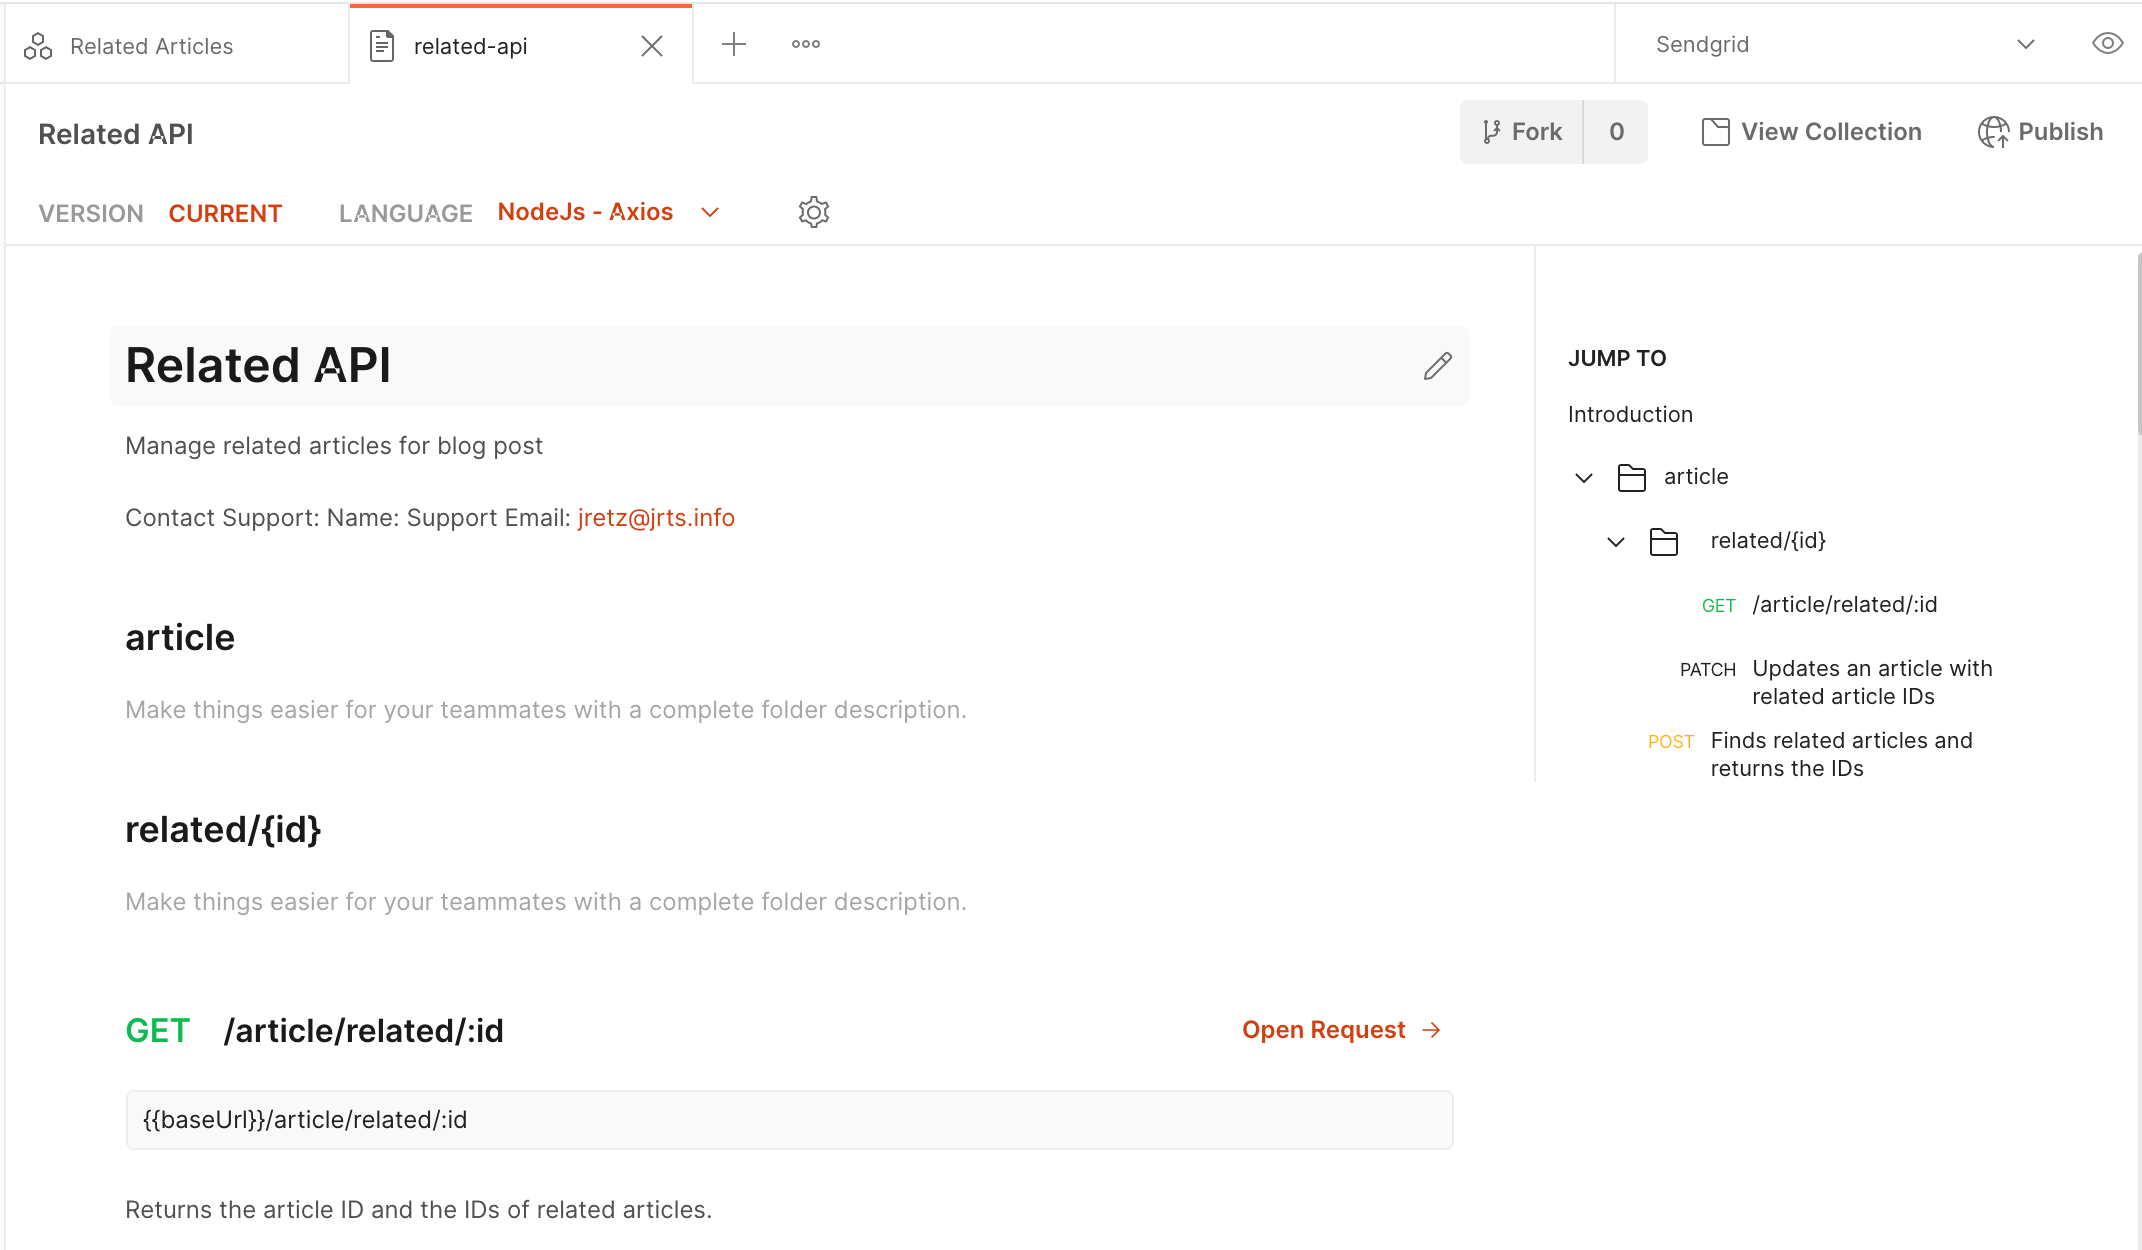
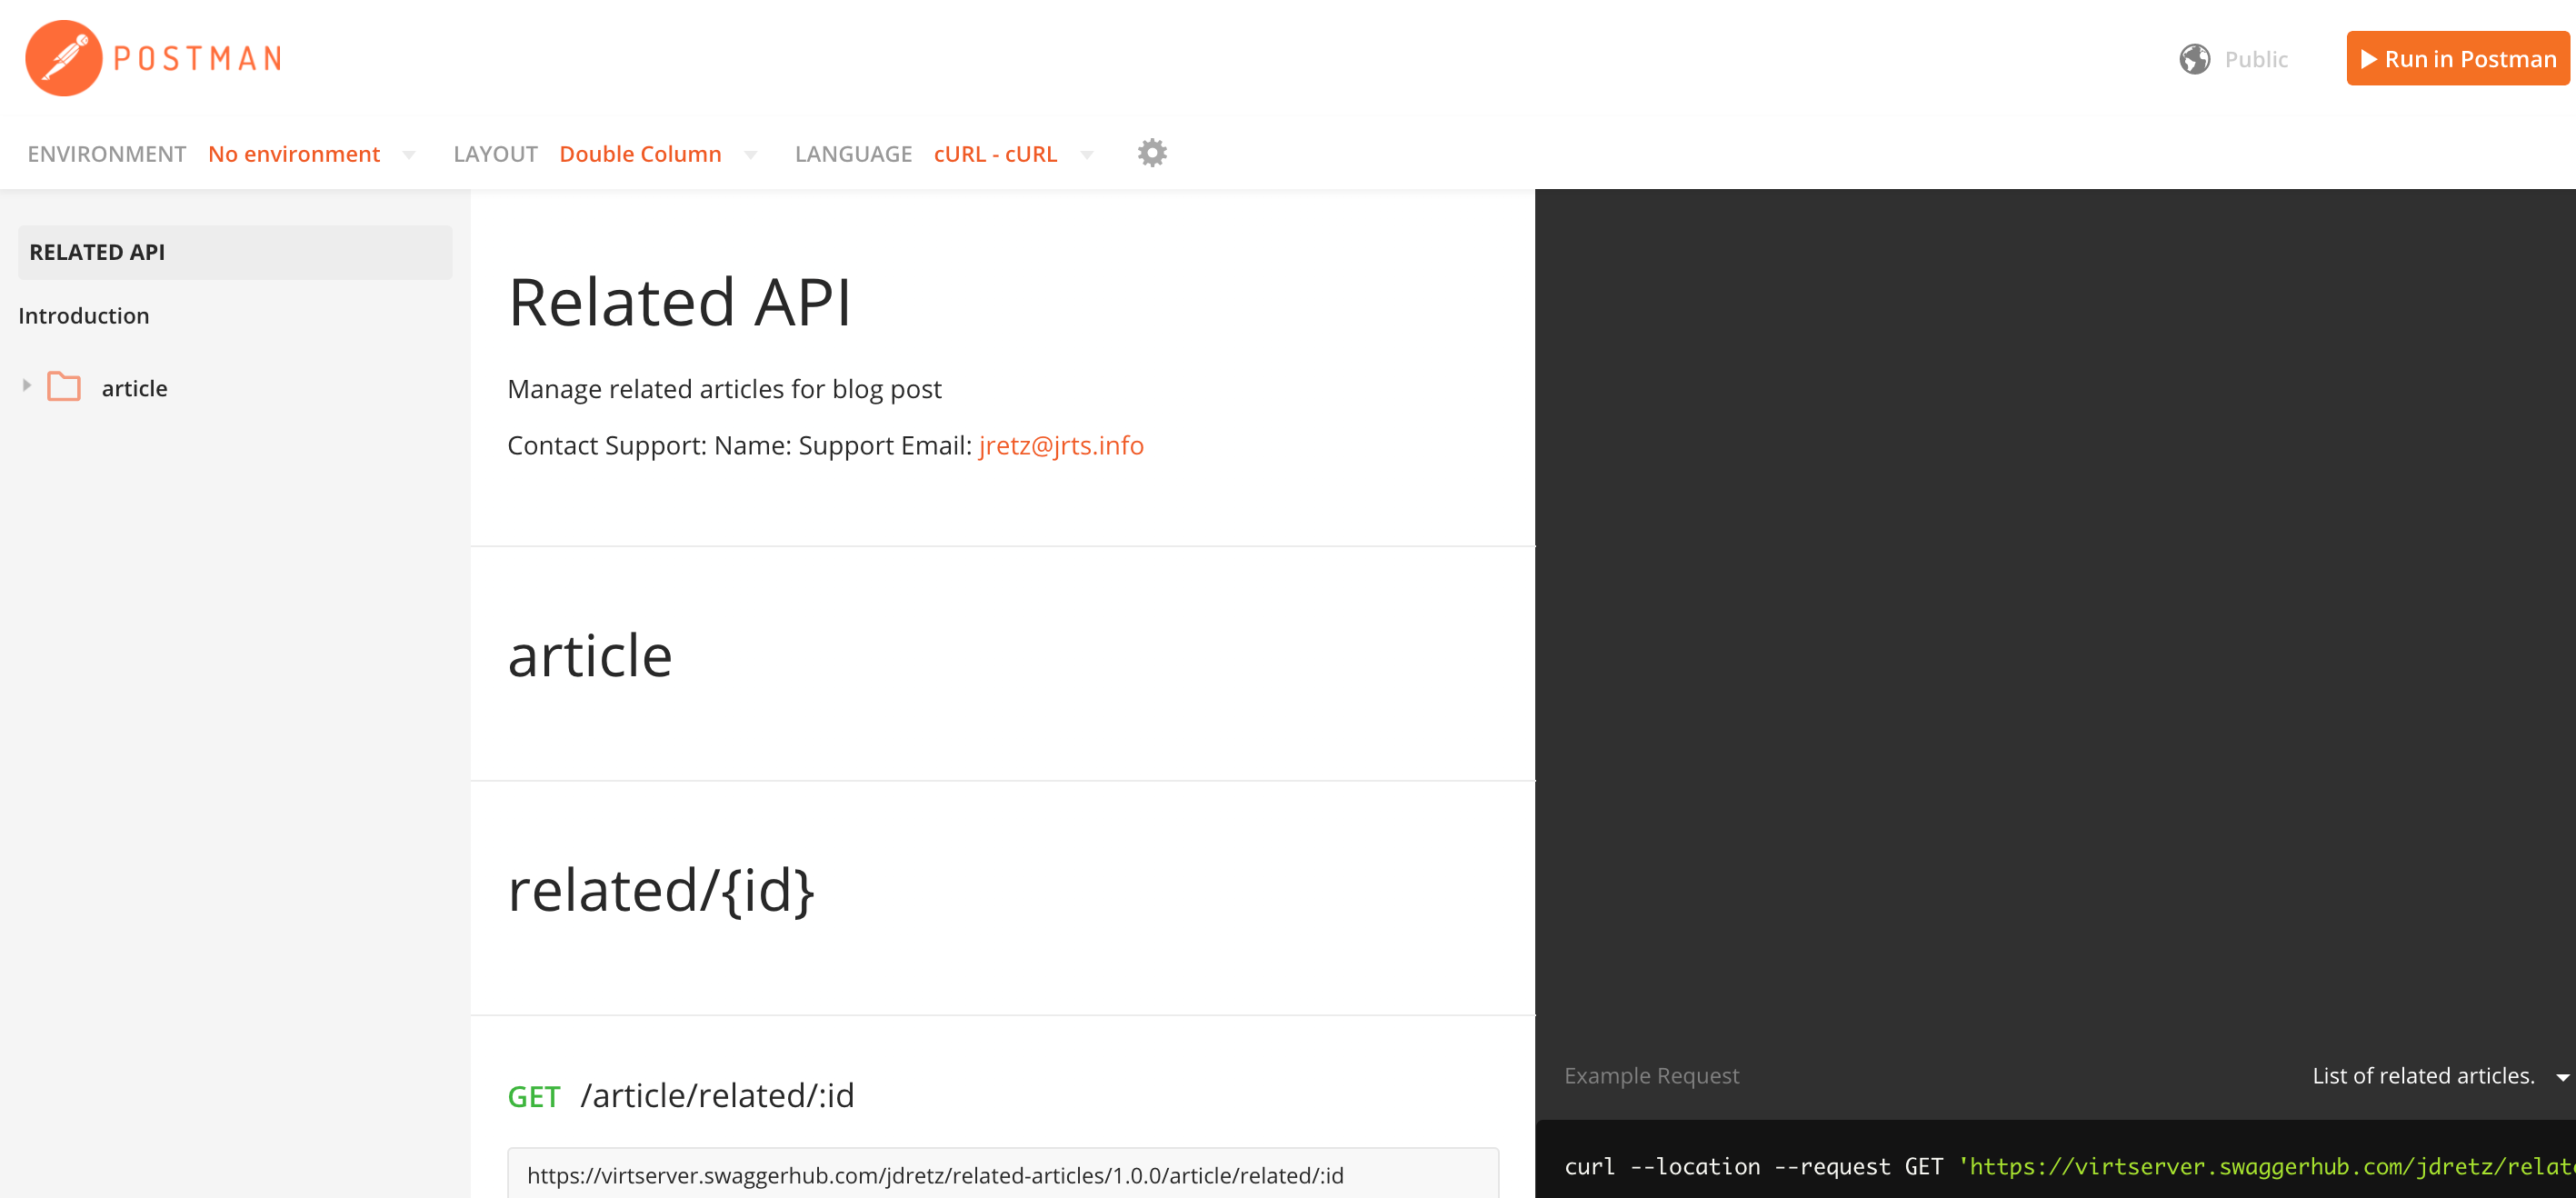
Then, I had the option to publish the documentation to the Postman Cloud to make it available to publish.
It may be lacking the interactive feature, but you can publish code generation samples next to each route, and I think the layout/look is spotless.
FastAPI
Why not just use the FastAPI auto-generated docs?
This is what someone would be asking if they had used FastAPI in the past. This is because the development server is prepackaged with two routes /docs and /docs that create API documentation as you go.
And here lies the problem.
In an API-first approach, we want the specification before the API. Make no mistake; this is a feature of FastAPI. The two different styles of documentation that are generated are great, and they live right next to your API.
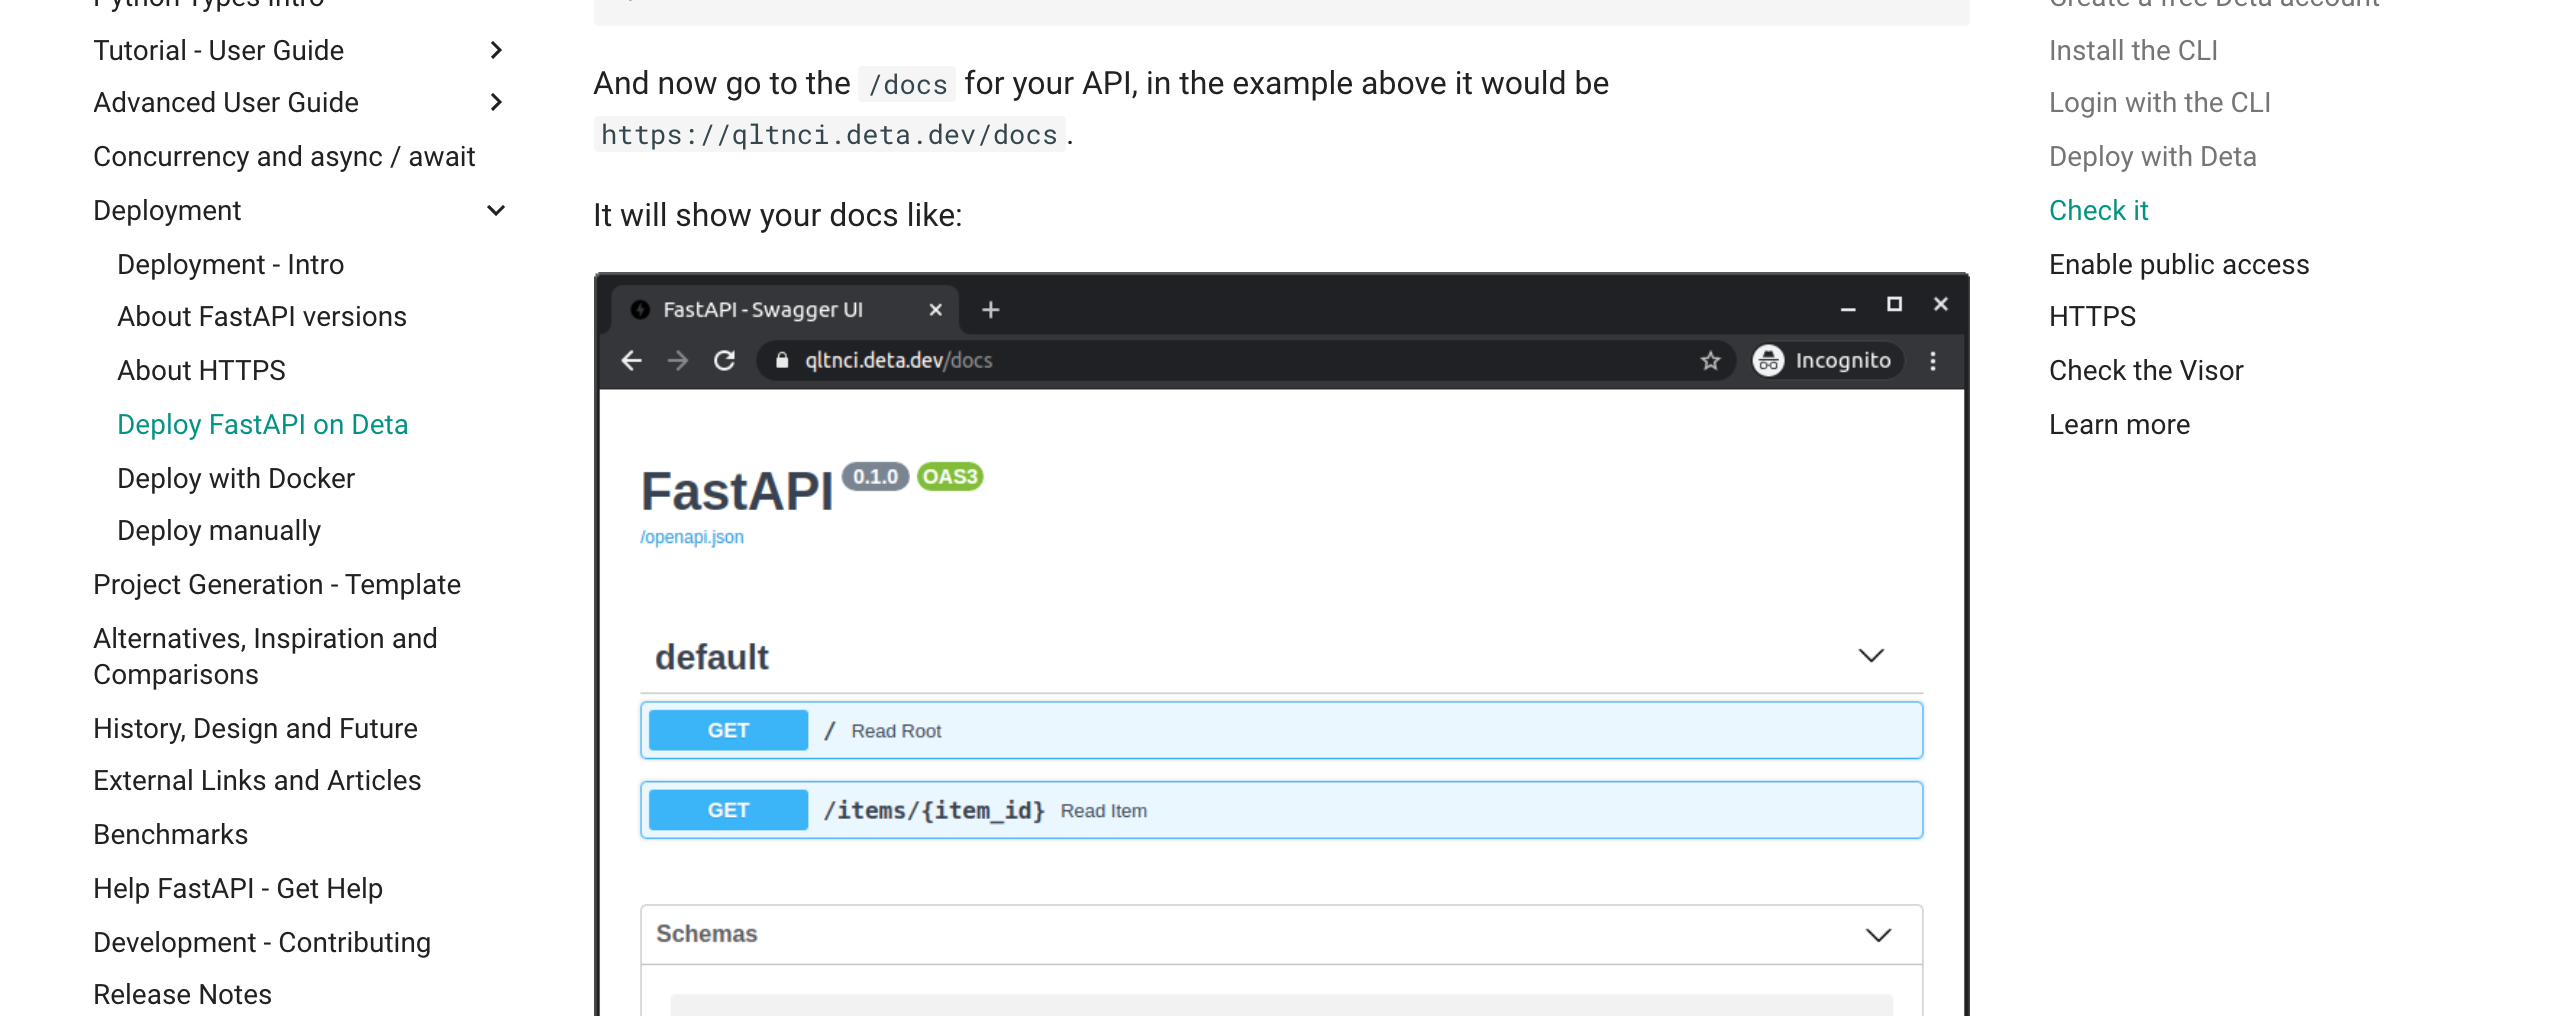
That means that when you publish your API to a hosting site or server, the docs are found at the same URLs they were found in development.
This has two advantages:
- Our documentation automatically updates (for the most part)
- The docs live at the same URL as the API.
I imagine there is a way to make this private if the API is private, but I haven't looked into it yet. Regardless, I think the final version of the documentation for the API I am building will be the FastAPI generated documentation.
Mocking
Mocking creates a fake API that can return example (or mock) responses to actual network requests. This is really cool and lets us start working with the API in development right away.
Swaggerhub
Swaggerhub has an easy option to auto-mock the API and spits out a URL immediately when writing the spec. However, I think that Postman provides a better mock
Postman
I like mocking in Postman because you can view requests (real requests that you sent from client applications) and the ability to easily integrate example responses and requests with endpoints.
Below is a request I sent from the development server of my content backend.
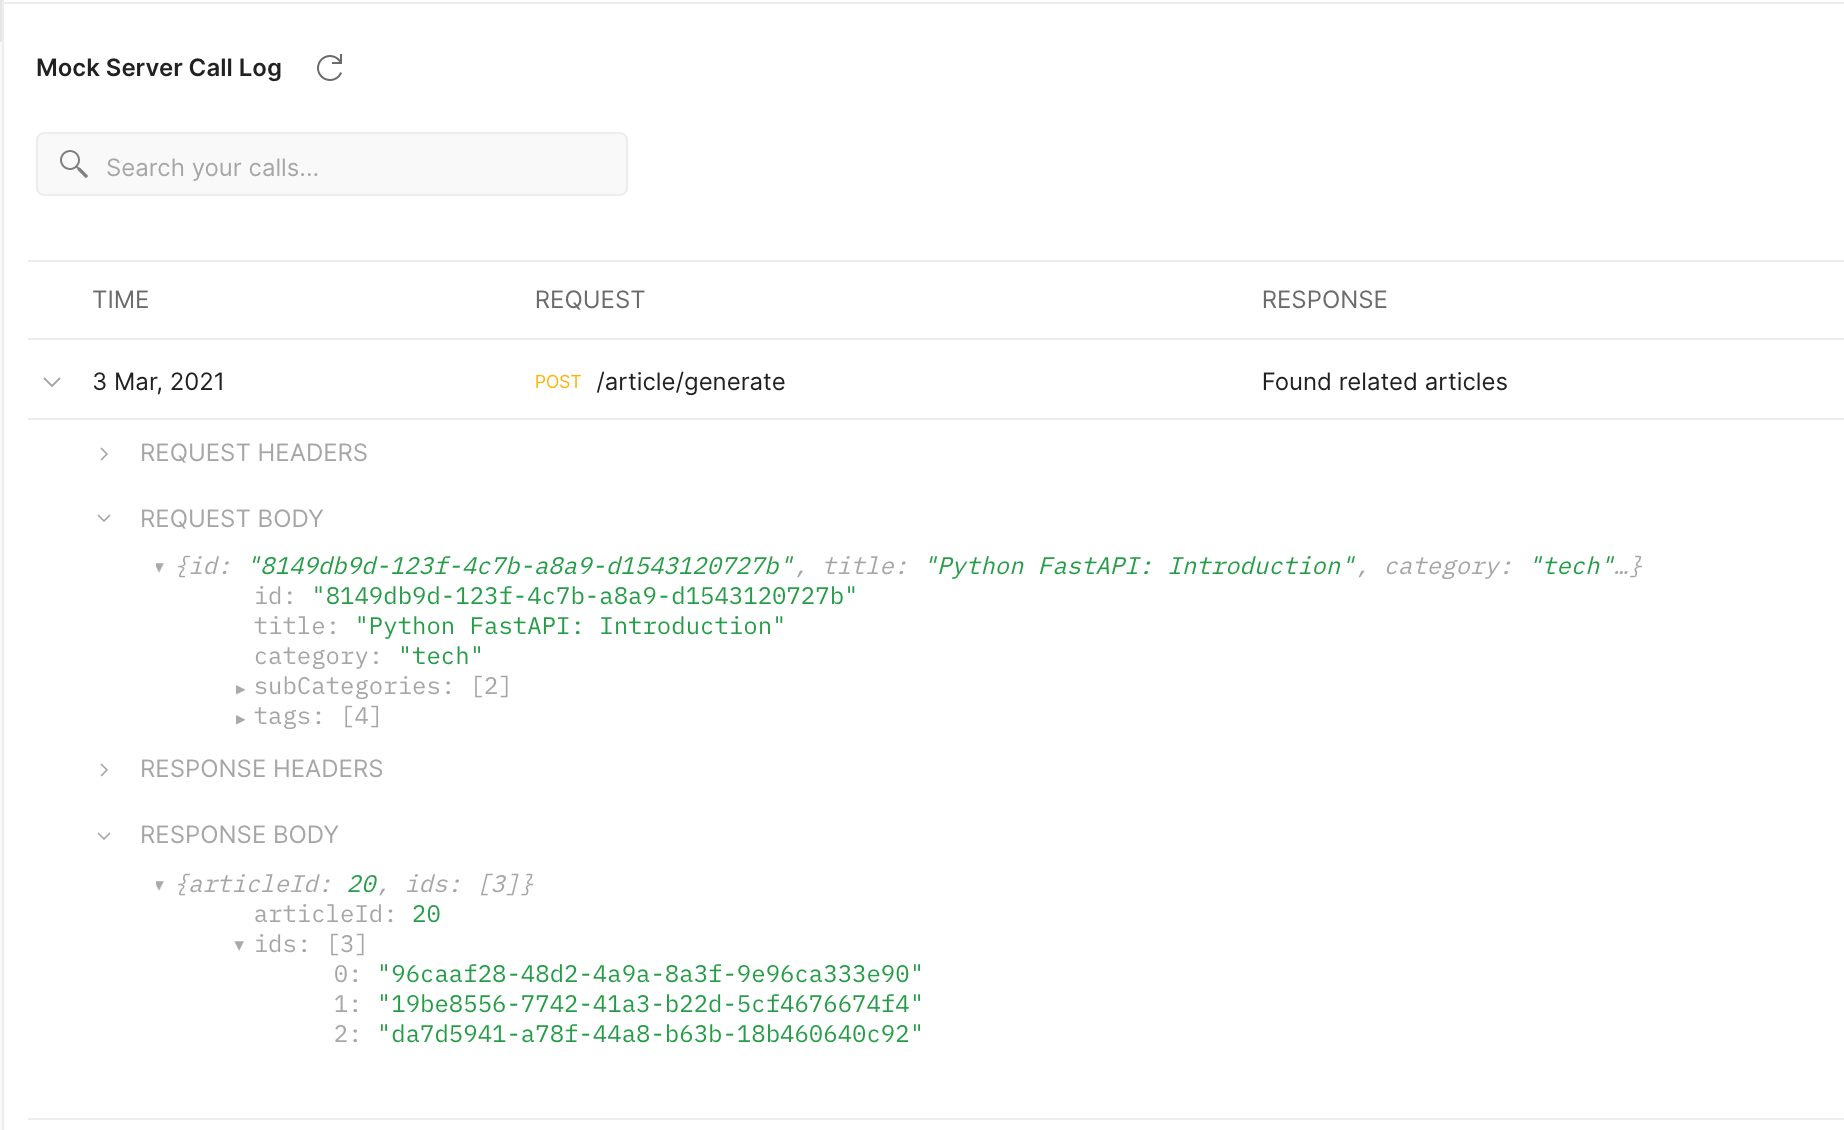
I can see the data I sent and the mocked response. Furthermore, it's easy to create, name, and sculpt examples responses/requests and add them to a collection.
Combine this with the ability to send requests from your API collections to the mock API, all in Postman, and you have a useful tool.
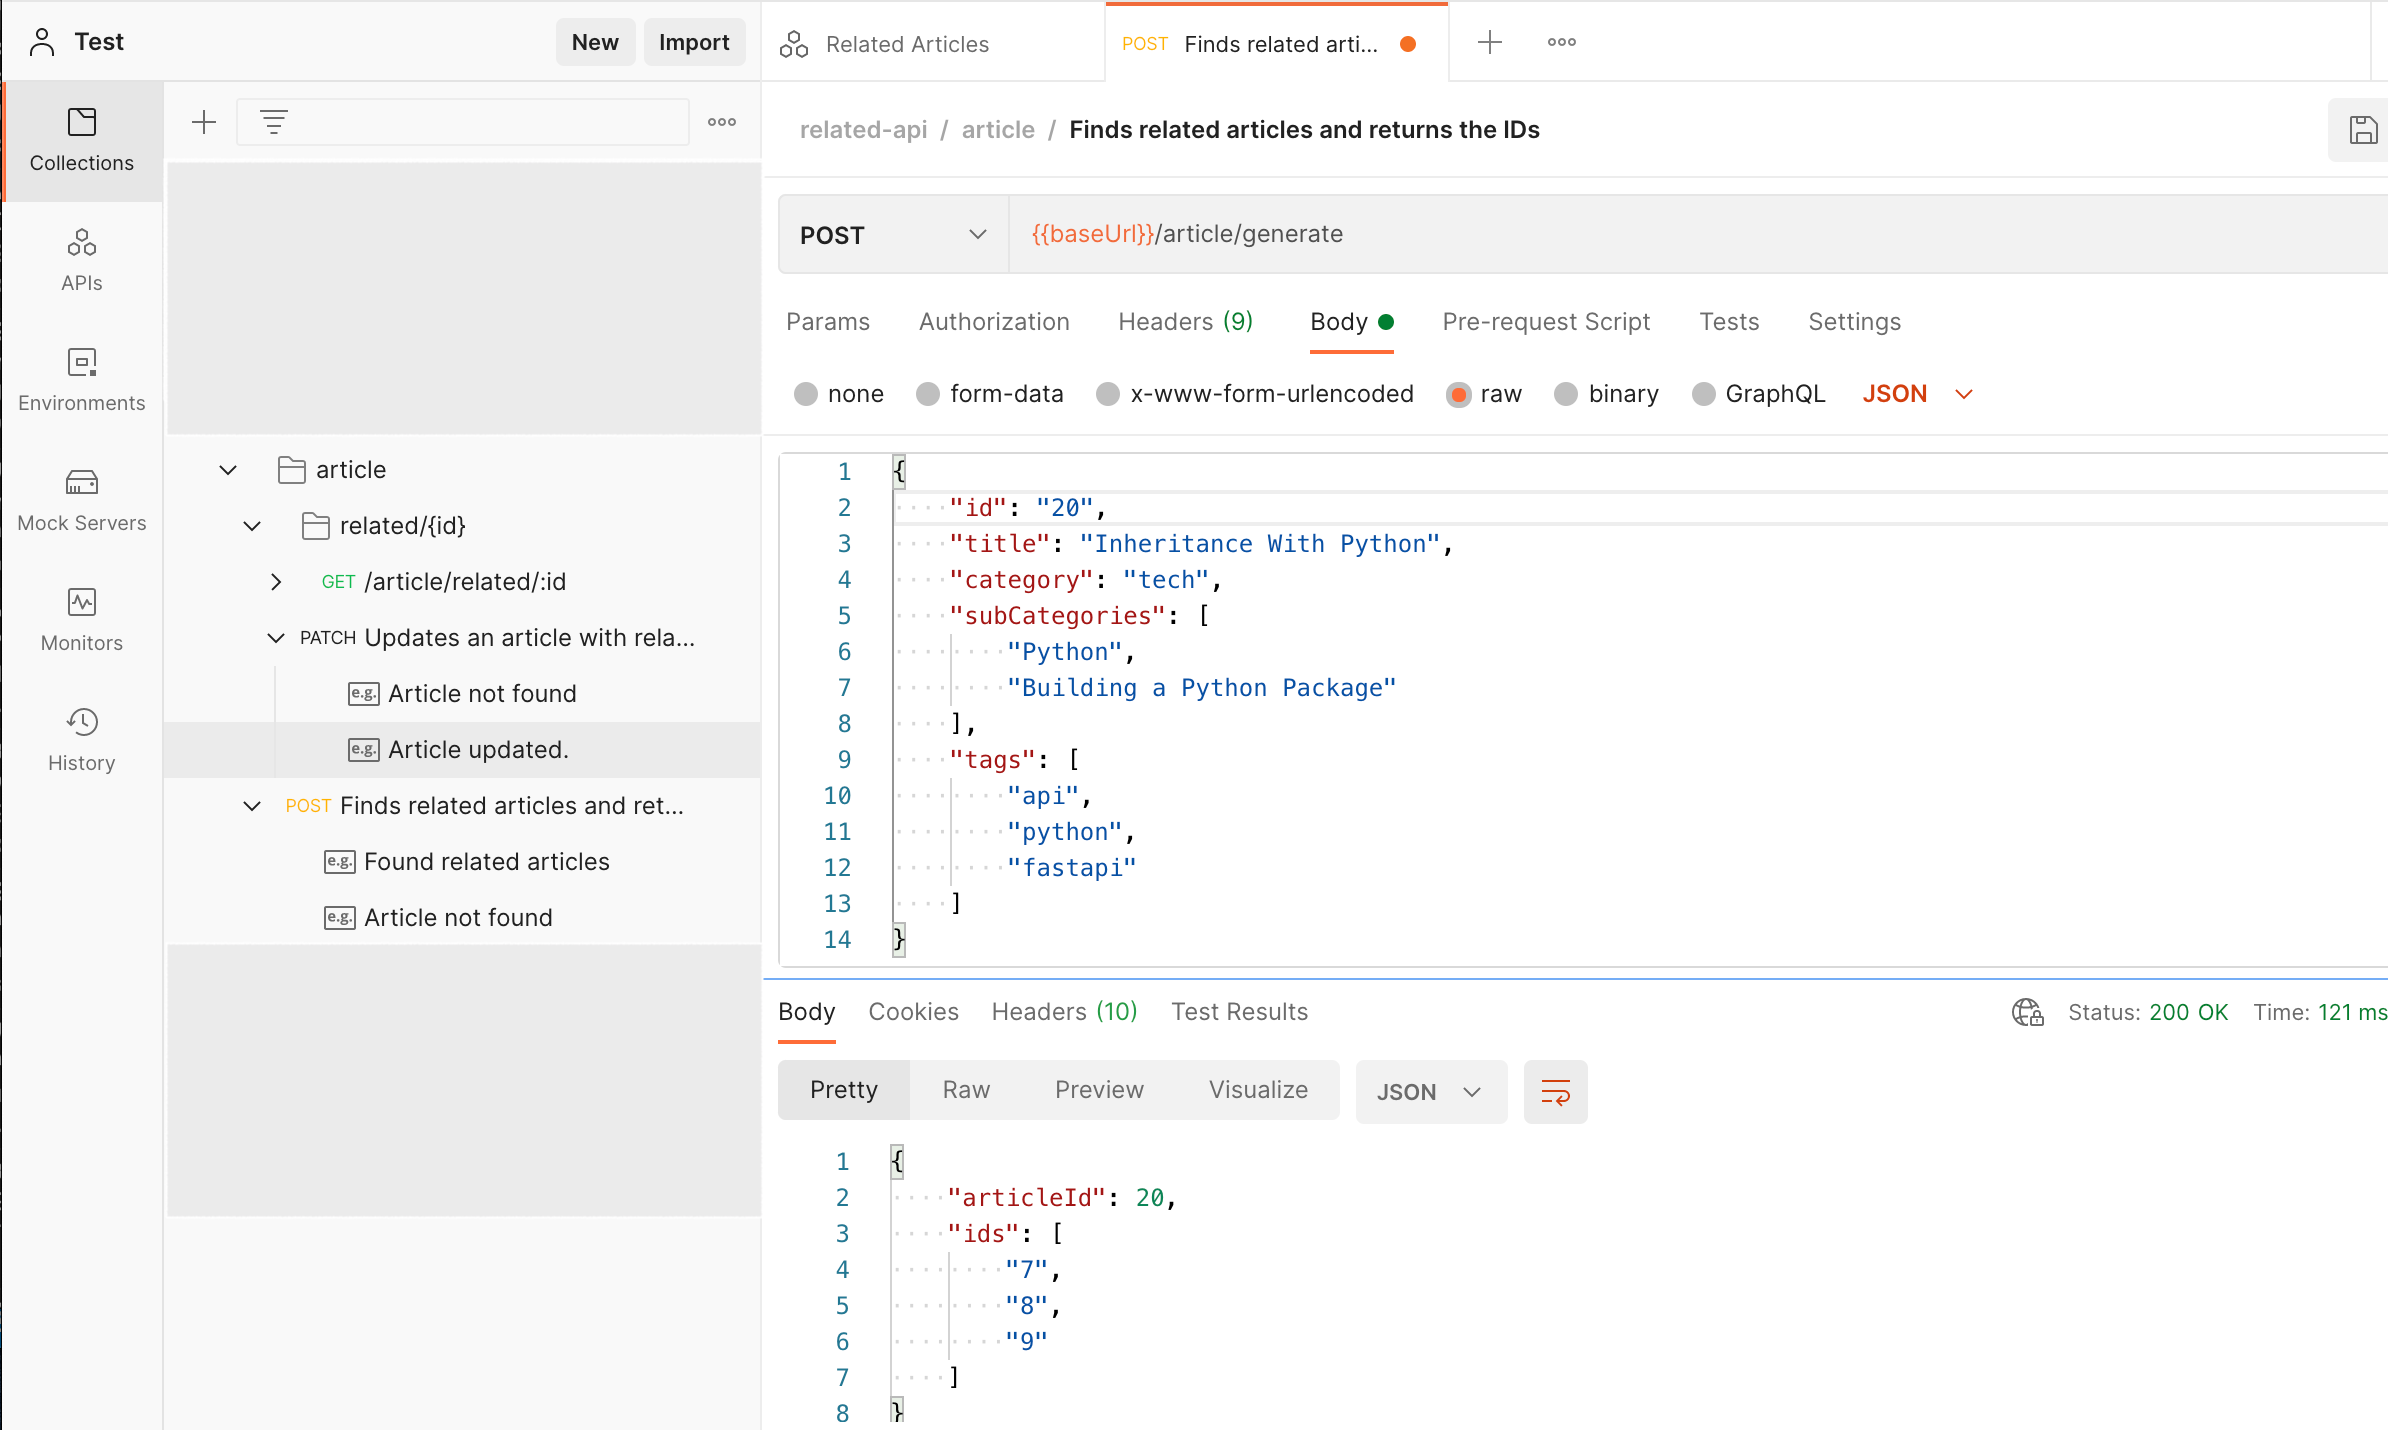
There are a lot of API tools available on the market. Consequently, it'd be cumbersome to cover many more than the above tools for the moment.
Instead, I will discuss how I set up my front-end and back-end to work with the mock API. Your specific technology stack will probably not match mine, but I hope the following explanations will be a glimpse as to what the back-end and front-end developers can do with a mock API in place.
Back-end Integration
I host my blog content through Sanity.io. It serves as a backend data store for my blog content.
As I was writing this article, I realized that the API only needs one route. Previously, I had two routes with three methods total. However, I'll update and retrieve the related articles for each blog post from the back-end Sanity API. The only relevant route to create with the API became the /article/generate route. This is the most important route, and it, hopefully, will simplify the API.
In Sanity, I built a custom action button that pulled data from the blog article and displays a button to Generate Related Articles. After clicking the button, a post request is sent to the mock API. Specifically, the /article/generate route.
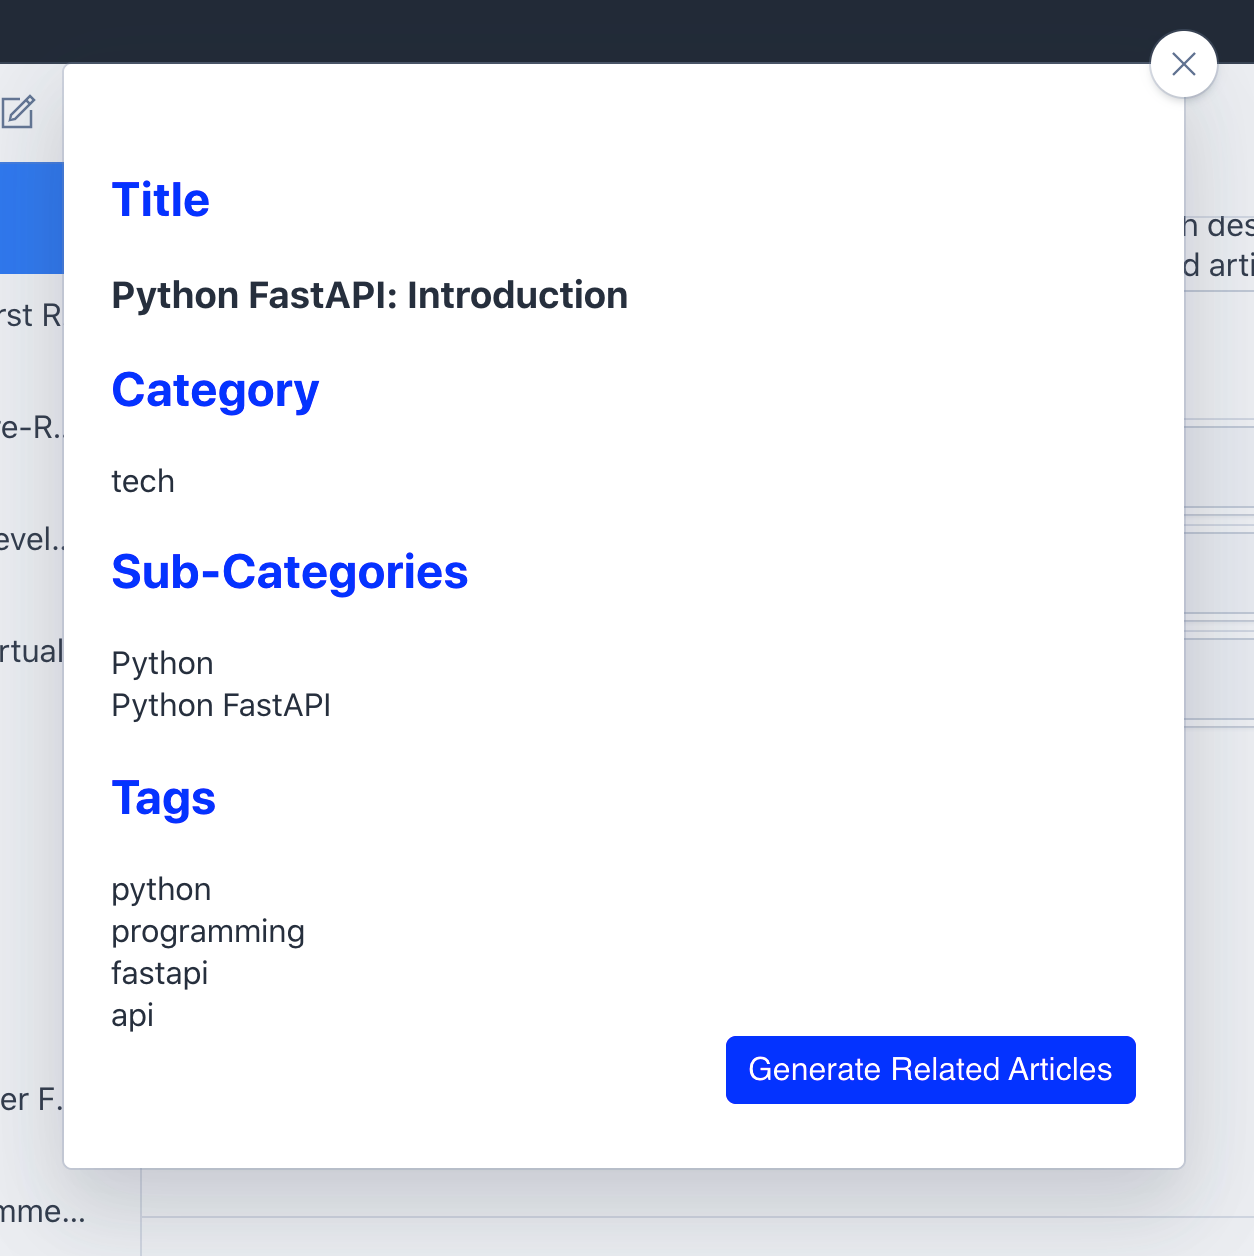
The request body of the Sanity request matches the example request body schema for that route. Next, the mock API returns an example response with the fake IDs.
The fake data in the response body doesn't have to be relevant. It does, however, need to follow the schema so the client sending the request can plan on how it will handle the data.
Finally, the action button takes in the fake data from the example response (returned by the mock) and saves it to the article document.
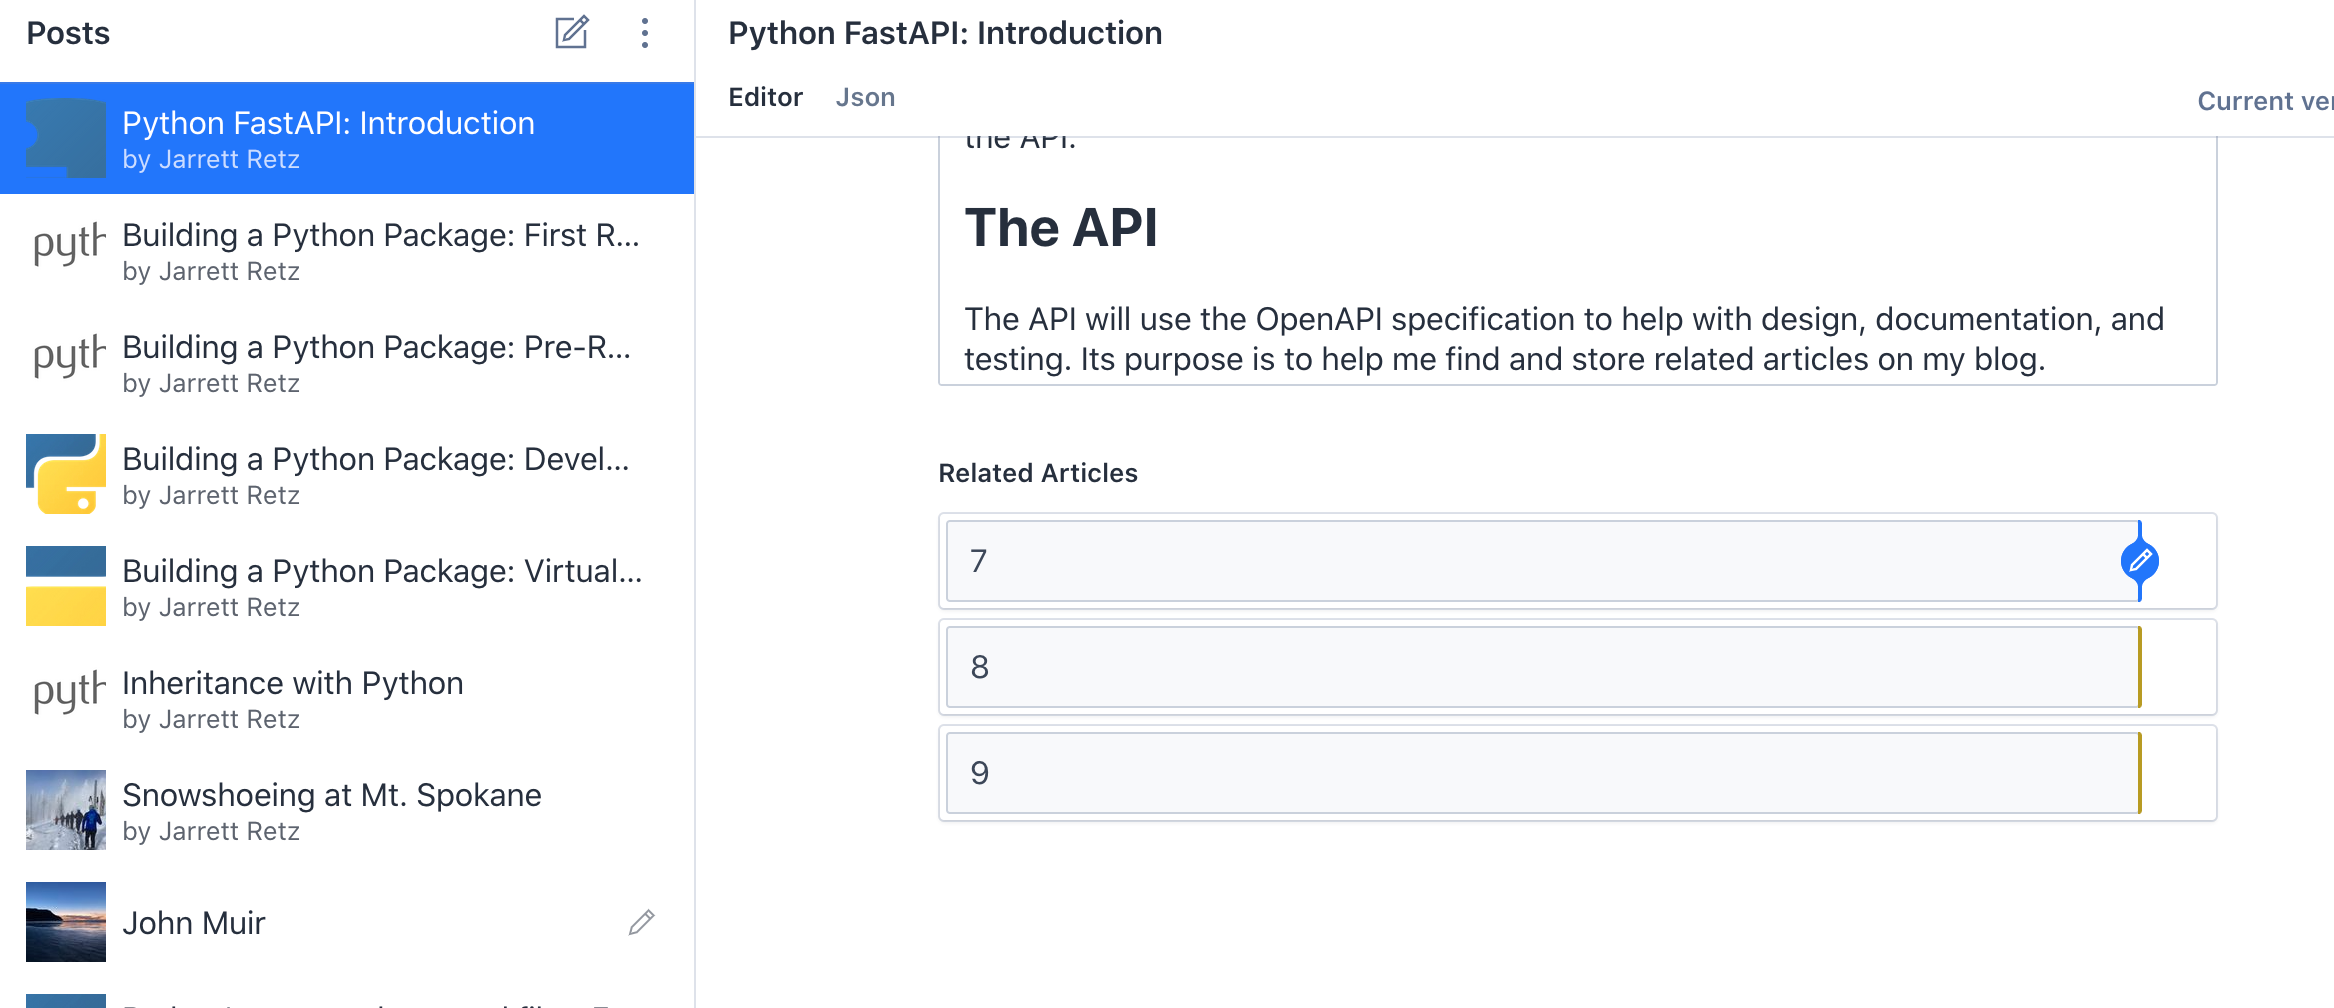
The IDs in the picture above (7, 8, 9) are from the mock API. What is quite cool about all of this is; in production, generally speaking, the only thing that will change is the URL of the request! Everything else is already in place!
Front-end Integration
Integrating the new data into the front-end is straightforward (if you're familiar with React).
Also, Sanity provides a Javascript client for accessing their API, and I have already used it to grab data from articles and the back-end data store.
The only thing that is changing is the document data that I'm requesting. To integrate this feature on the front-end, I:
- Added a new branch for the repository
- Created a query to use the related article IDs to fetch the corresponding main image, title, and slug.
- Rendered the data for each related article as a link.
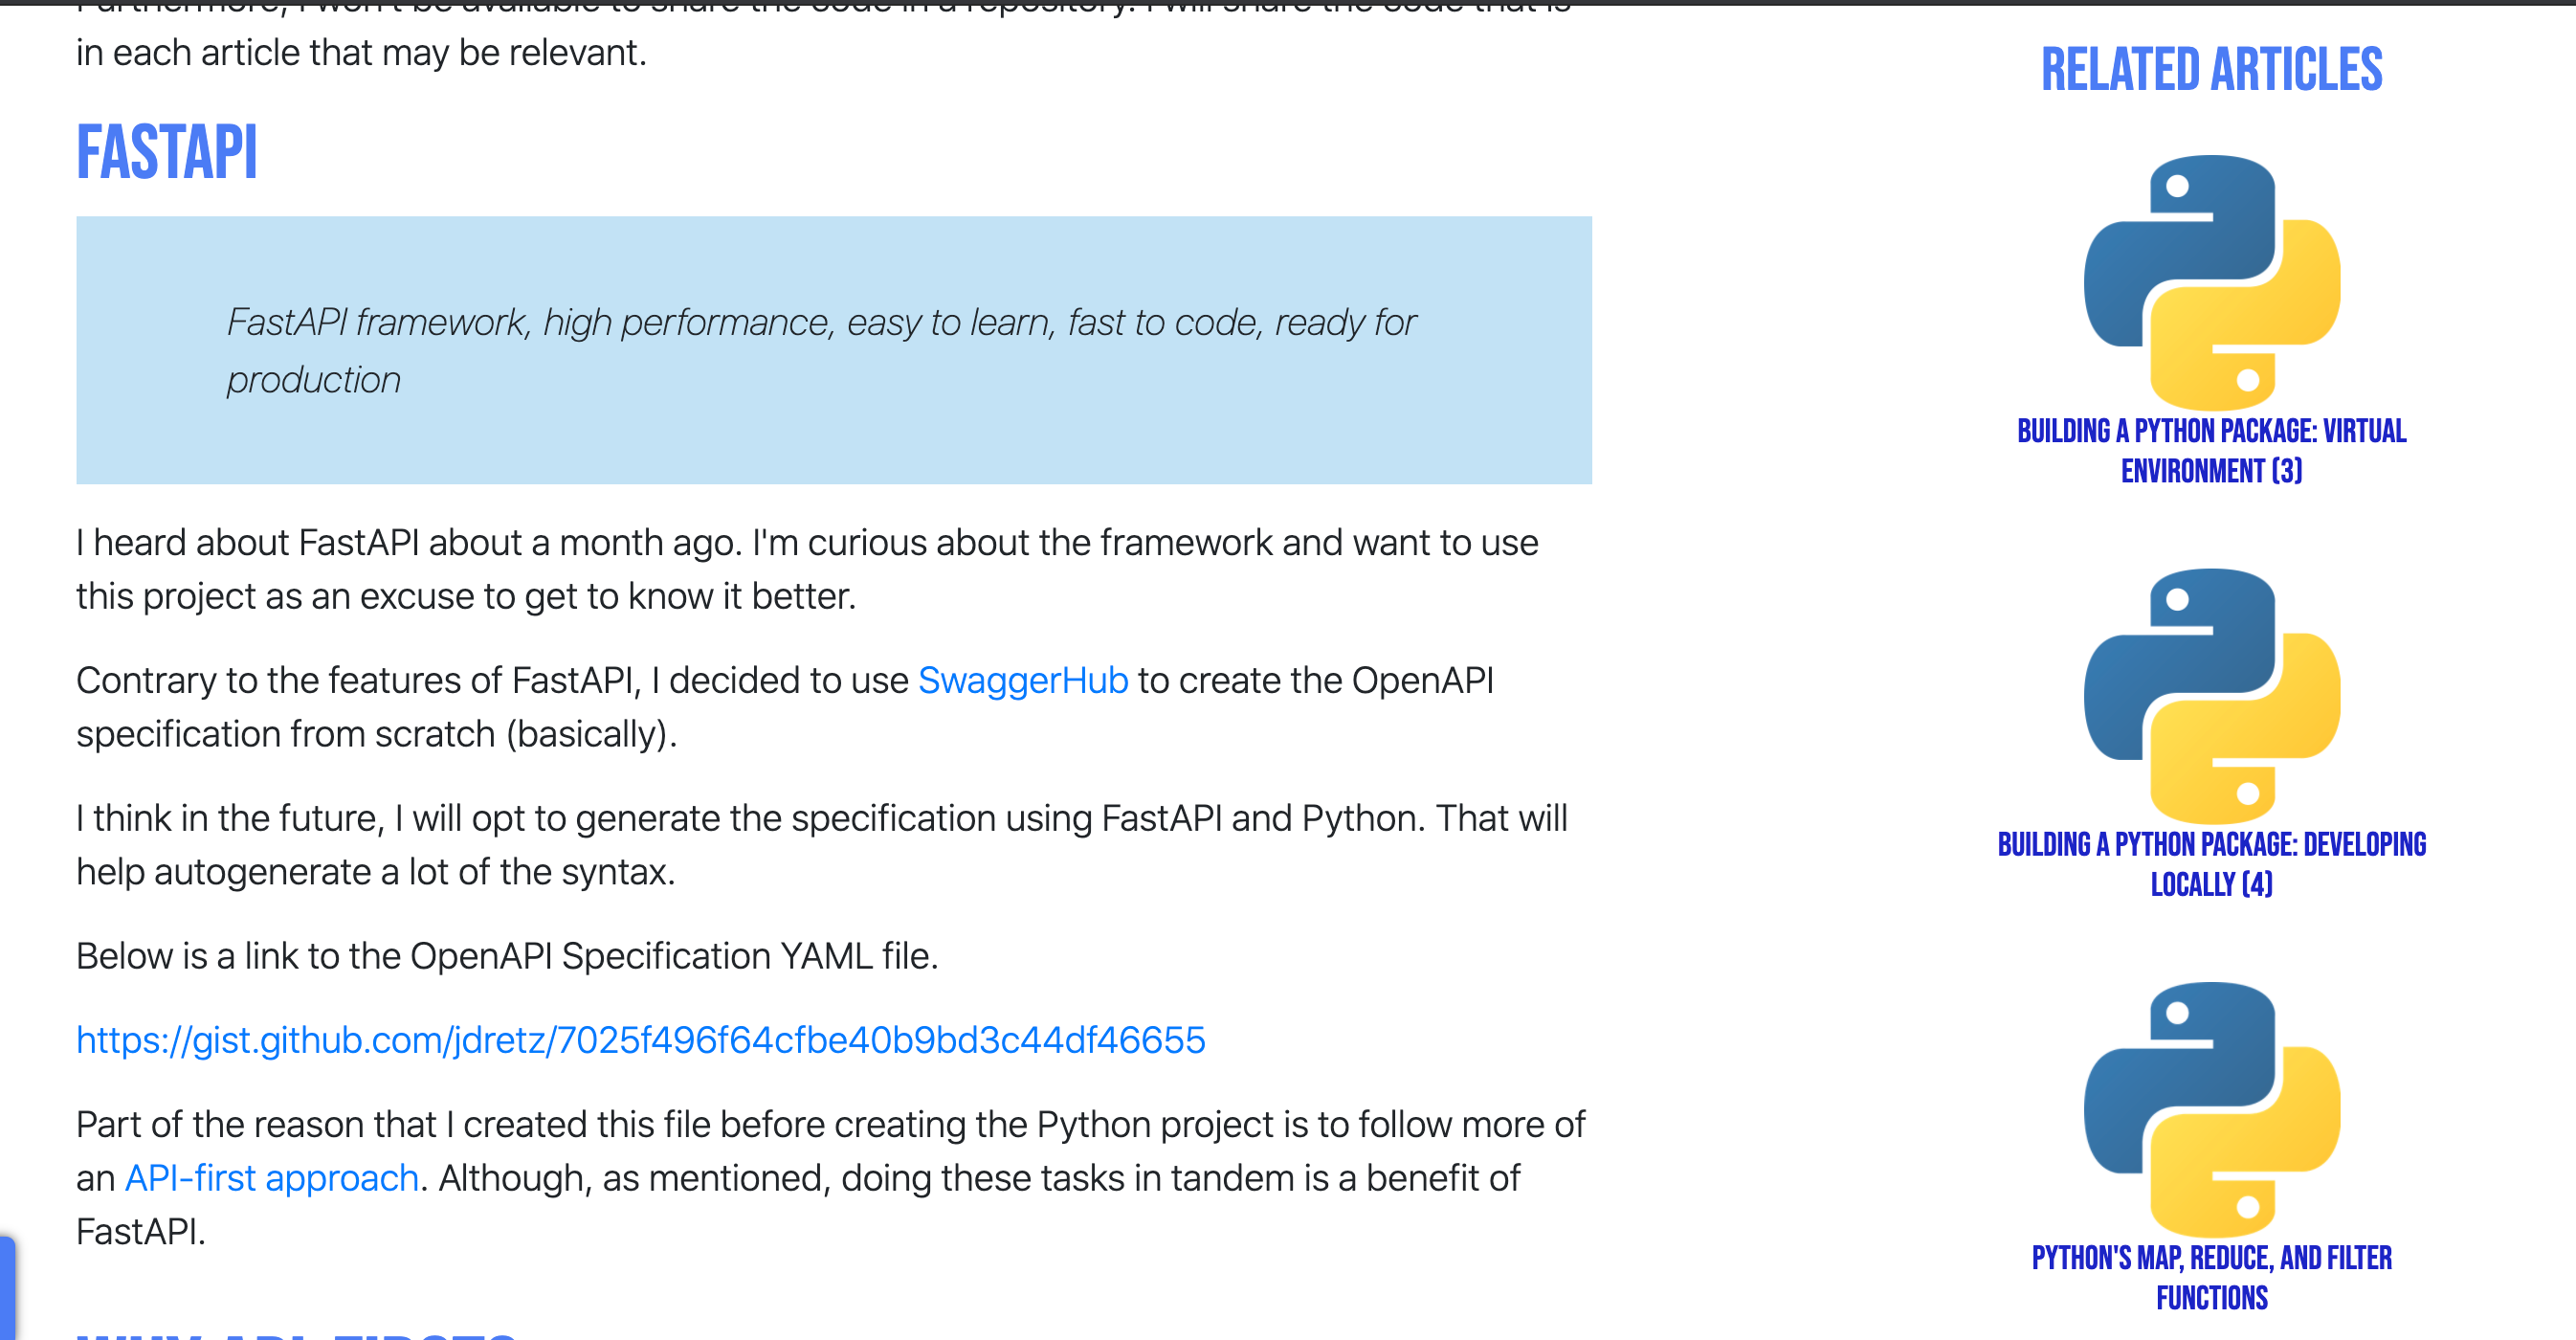
Now, I have the front-end grabbing data from the documents (if it's there) and rending the related articles placed there through the API!
Conclusion
I now know that the integration down the line will be successful, and what's left is for me to focus my energy on building the core functionality of the /article/generate route.
As we advance, I know this project will be successful if the route can handle the predefined request schema and return data following the example response schema.


