Introduction
Performance issues may have never crossed your mind building your first React application. There were much more pressing issues to figure out. Furthermore, you weren't quite sure how to check performance.
However, as the application grew in complexity, it became apparent that some actions were BIG and took longer than other actions. Or your application's files became a mess. Instead of 60 lines, they were—now—600 lines.
I assume that many try to avoid the problems, calculate the distance to the finish line, and hope the problems don't become too big. Some can even get away with it!
Despite the lucky few, I have now had a few clients that needed help with their first (or earlier) React applications because they become unmanagable. Therefore, I thought it was in my best interest to provide a quick example and talk about the React Profiler available for Google Chrome.
For this article, I've created a small React App. We'll use this application as the starting point to check performance profiling. Then, we will refactor the application, opting for a better pattern, and check the results using the React Devtools.
Prerequisites
There are a few things that you'll need to have in place before following along:
Project Setup and Overview
Setup
Create a new React application. On your command line, run the command:
npx create-react-app my-app
Change directories into the new folder my-app.
Then, install the project dependencies:
npm install
Run the project.
npm start
In a new browser tab, the project should start.
Replace all the code inside src/App.js with this code.
import React from "react";
import { BrowserRouter as Router, Switch, Route, Link } from "react-router-dom";

export default function App() {
  return (
    <Router>
      <div>
        <nav>
          <ul>
            <li>
              <Link to="/">Home</Link>
            </li>
            <li>
              <Link to="/about">About</Link>
            </li>
            <li>
              <Link to="/users">Users</Link>
            </li>
          </ul>
        </nav>

        {/* A <Switch> looks through its children <Route>s and
            renders the first one that matches the current URL. */}
        <Switch>
          <Route path="/about">
            <About />
          </Route>
          <Route path="/users">
            <Users />
          </Route>
          <Route path="/">
            <Home />
          </Route>
        </Switch>
      </div>
    </Router>
  );
}

function Home() {
  const [showOptions, setShowOptions] = React.useState(false);

  return (
    <div>
      <h2>Home</h2>
      <Link to="/about">About</Link>
      <br />
      <button onClick={() => setShowOptions(!showOptions)}>Users</button>
      {showOptions ? (
        <>
          <button>Create User</button>
          <Link to="/users">View All</Link>
        </>
      ) : null}
    </div>
  );
}

function About() {
  return <h2>About</h2>;
}

function Users() {
  return <h2>Users</h2>;
}
Save the file.
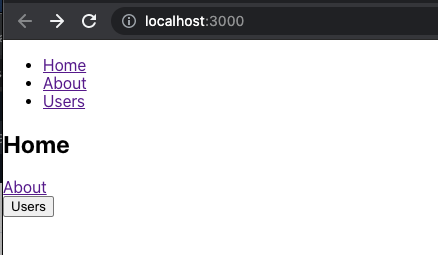
Your project should have a few routes and look like the image below.
Overview
The application uses react-router-dom. This allows the user to navigate between a few small components (all are found inside src/App.js).
Each route has a React component:
- <Home> (/home)
- <Users> (/users)
- <About> (/about)
The one part of the app that we want to focus on is the Users button in the <Home> component. The button toggles an options component.
The options component is controlled by the variable showOptions created with the useState hook. After a user clicks on the Users button, a new set of options appears:
- Create a user
- View all users
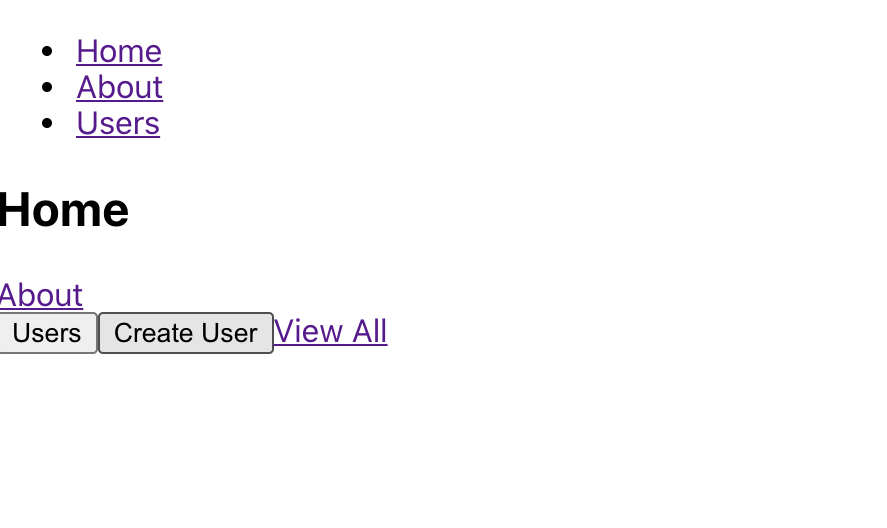
The "Create a user" button doesn't do anything because it's unimportant for this article's purpose. However, the "View all users" component links to the <Users> component in App.js.
Devtools Profiler
Open up the developer tools in Chrome by right-clicking on the page and selecting Inspect. Next, at the top of the devtools panel, find the Profiler tab.
We want to inspect how—and when—the components render after the Users button is clicked. Therefore, follow these steps to take your first recording.
Click the refresh icon towards the top left of the Profiler tab. This reloads the page.

Next, go back to the application and click the Users button once.
Finally, return to the Profiler tab and click the red circle to stop recording.

Your recording should look something like the image below.
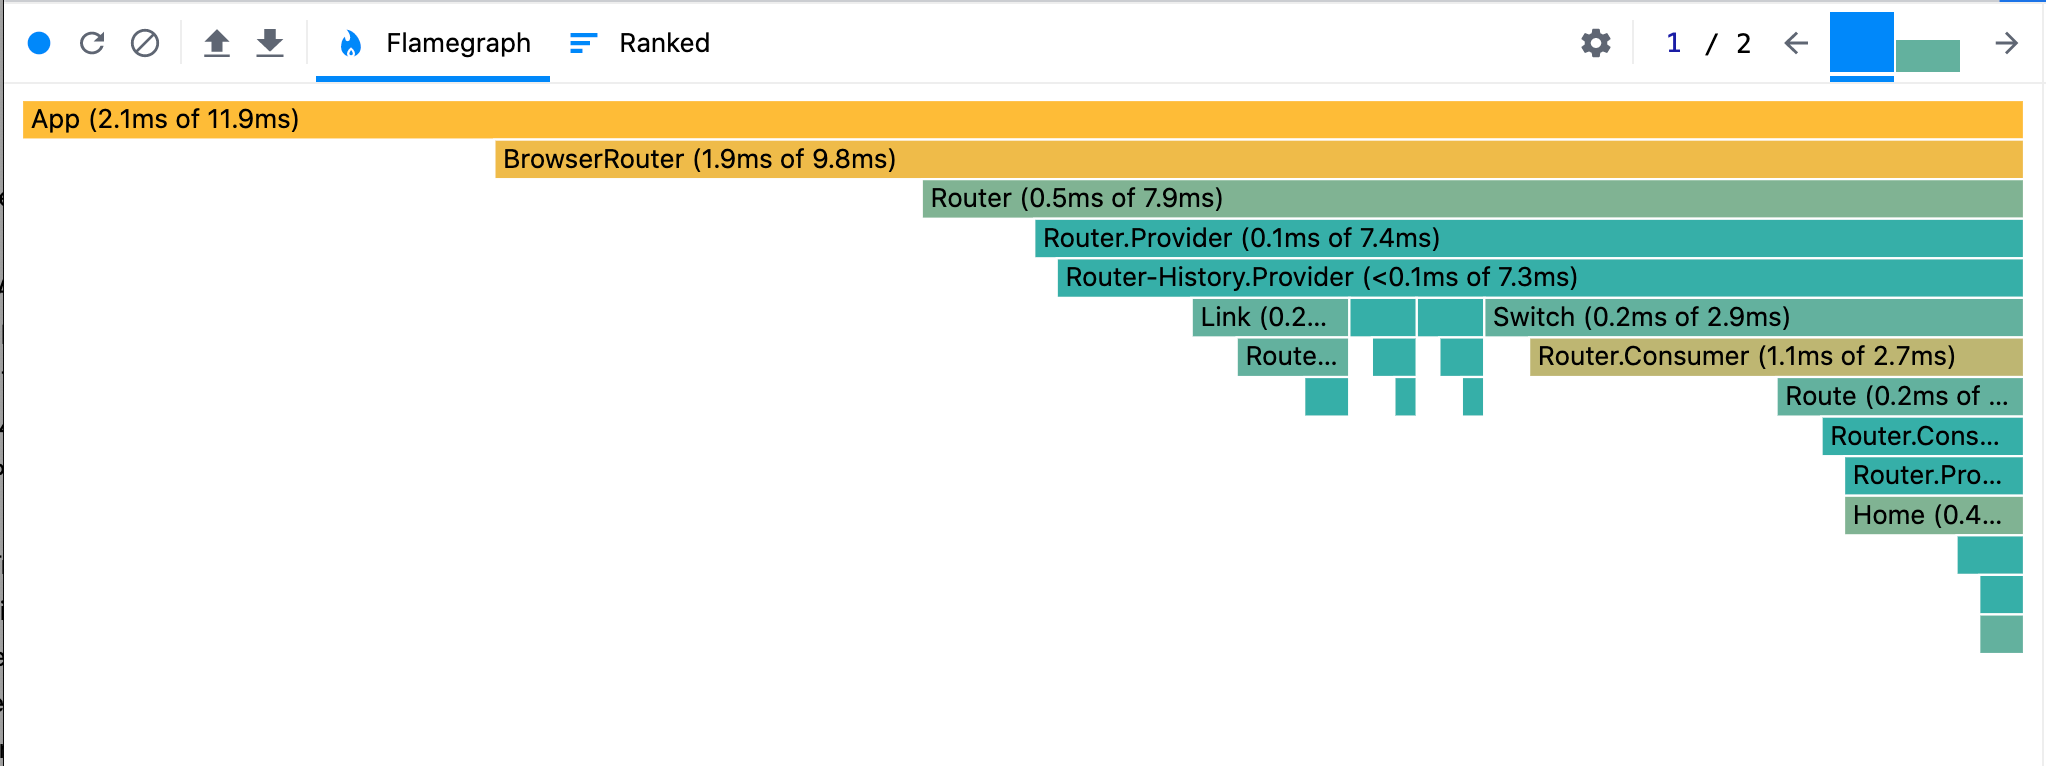
This is called a flame chart. It shows us which components were rendered and how long each took to render in the component tree.
Commits
When we clicked on the Users button, we made a single commit. Commits are found near the top right of the Profiler tab.
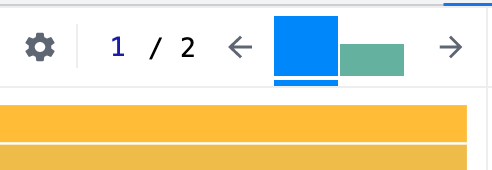
Notice, there are two commits. The first was the initial render. The second was the click we made on the Users button.
Go to the second commit by clicking the second column or using the arrows.

After we clicked the Users button, this commit shows that the <Home> component and all of its child components were rerendered. You can click on the <Home> bar to expand it.
The rerender included the <Home> component, the other <Link> component.
Refactor
The state change that toggles the options is higher up than it needs to be, causing unnecessary renders. It only affects the Users button. Consequently, we can take all of that logic and state out of the <Home> component and create a new component.
Below is the new code for src/App.js.
import React from "react";
import { BrowserRouter as Router, Switch, Route, Link } from "react-router-dom";

export default function App() {
  return (
    <Router>
      <div>
        <nav>
          <ul>
            <li>
              <Link to="/">Home</Link>
            </li>
            <li>
              <Link to="/about">About</Link>
            </li>
            <li>
              <Link to="/users">Users</Link>
            </li>
          </ul>
        </nav>

        {/* A <Switch> looks through its children <Route>s and
            renders the first one that matches the current URL. */}
        <Switch>
          <Route path="/about">
            <About />
          </Route>
          <Route path="/users">
            <Users />
          </Route>
          <Route path="/">
            <Home />
          </Route>
        </Switch>
      </div>
    </Router>
  );
}

function UserOptions() {
  const [showOptions, setShowOptions] = React.useState(false);

  return (
    <>
      <button onClick={() => setShowOptions(!showOptions)}>Users</button>
      {showOptions ? (
        <>
          <button>Create User</button>
          <Link to="/users">View All</Link>
        </>
      ) : null}
    </>
  )
}

function Home() {

  return (
    <div>
      <h2>Home</h2>
      <Link to="/about">About</Link>
      <br />
      <UserOptions />
    </div>
  );
}

function About() {
  return <h2>About</h2>;
}

function Users() {
  return <h2>Users</h2>;
}
Next, after saving the file, open up the Profiler tab and run the same set of steps for performance profiling as we did in the previous section.
When you're done recording, check the second commit profile.

The <Home> component did not have to render a second time! Only the new <UserOptions> component rerendered. Furthermore, because React rendered fewer components, we saw a small performance optimization with the Render duration time.
Breaking designs down into small components is the recommended way to build React components. It makes files easier to read and components easier to understand. Also, it allows developers to push the state down the component tree as far as possible to help minimize rerender size.
Conclusion
Yes, some critiques of this article are true. The example is contrived; you shouldn't refactor for performance too soon, avoid hasty abstractions, and over-engineered.
The point is: use this React practice to write applications that allow you to understand your state better and avoid performance pitfalls. Or, you may become a client on Upwork working with a freelancer trying to figure out what went wrong.
Conversely, I don't recommend profiling your components as you write them. Instead, I used the tool to demonstrate the render properties of the pattern. Additionally, it's a good way to double-check a component. Thanks for reading!


