Introduction
In the previous article, we set up a basic FastAPI development server. Next, we are going to inspect the automatic documentation and OpenAPI spec that generates while we code.
Then, we'll work through how to modify the documentation (and the API spec) in our codebase.
By the end of this article, we'll have a different API spec than the one we generated. However, this spec will be directly tied to our code, so the updates are automatic.
Inspecting the Docs
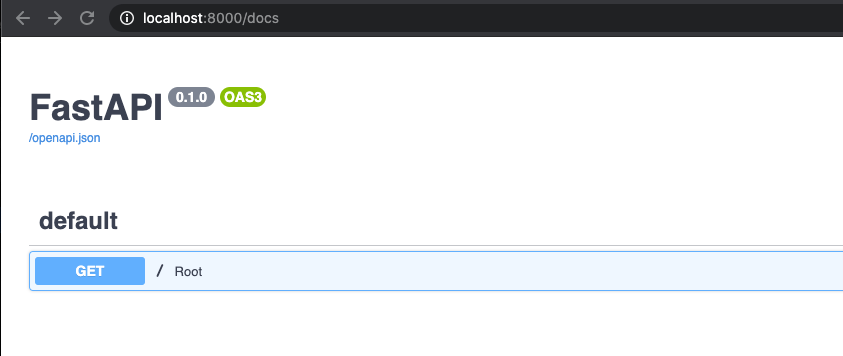
After starting the development server, we can visit our API's documentation at http://localhost:8000/docs or different style documentation at http://localhost:8000/redoc.
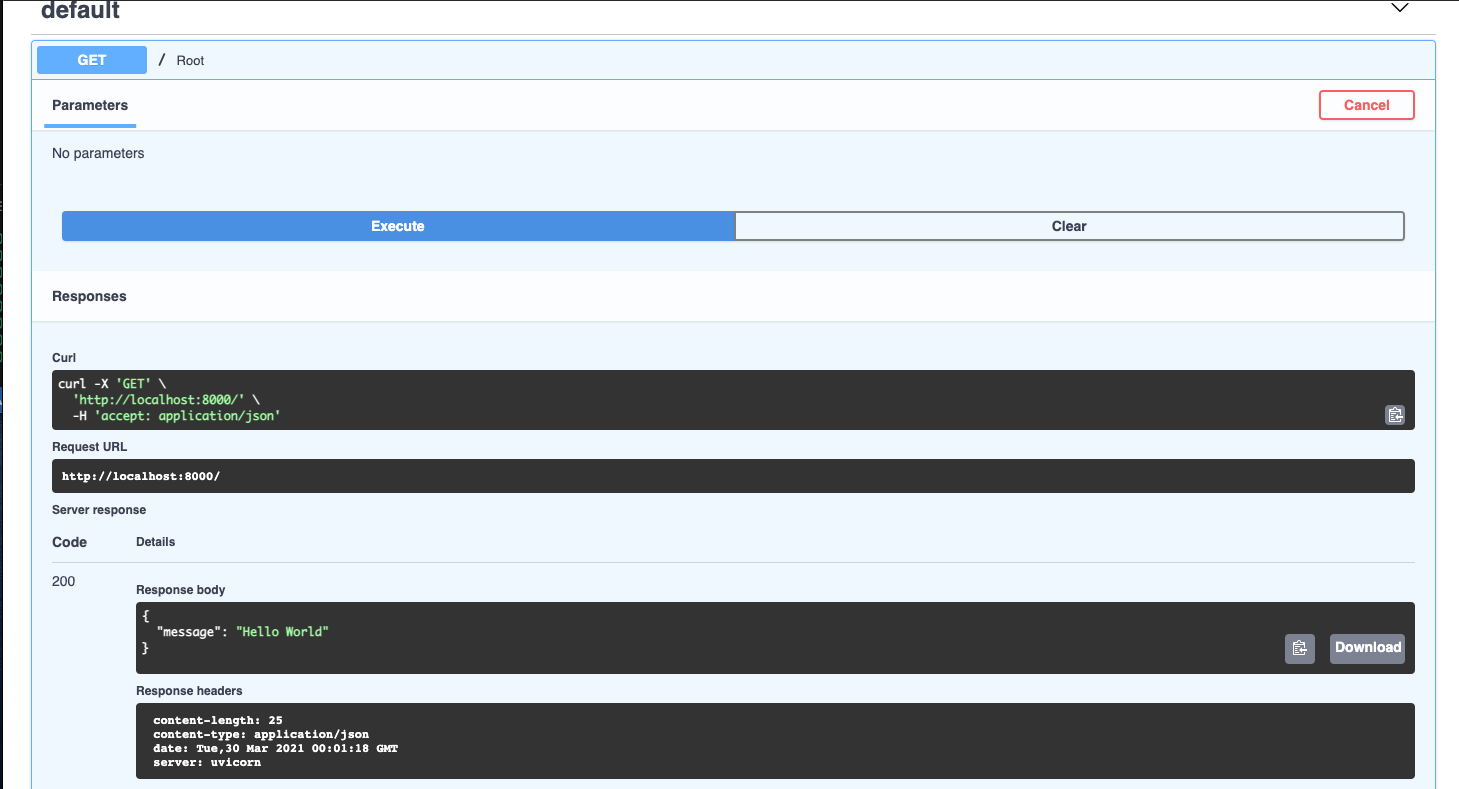
We can even interact with the documentation the same way that was available to us when using Swaggerhub. In the below screenshot, I sent a request to the development server.
There are no parameters or request body, just the message "Hello World".
This document has the title 'FastAPI', no description, no version, and basic information for our solo route.
In short, it's missing a lot of helpful information. In the next section, we'll add some basic info about the API.
Add API Info
In main.py, we create our API with code app = FastAPI(). If we want to add more Info information, we can pass arguments into this object creation.
# ...

app = FastAPI(
    title="Related Blog Articles",
    description="This API was built with FastAPI and exists to find related blog articles given the ID of blog article.",
    version="1.0.0",
)

# ...
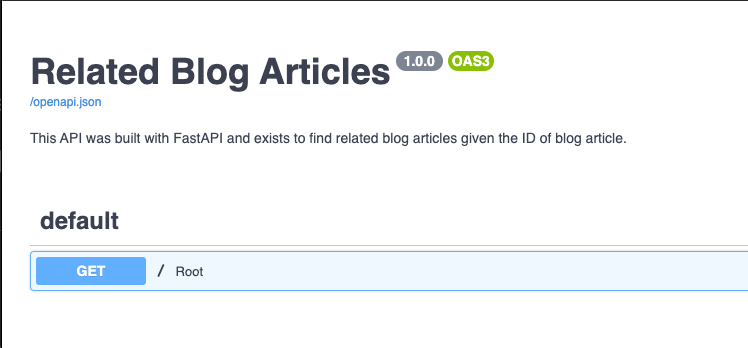
The API documentation has a title, description, and version after we save the file and refresh the documentation page.
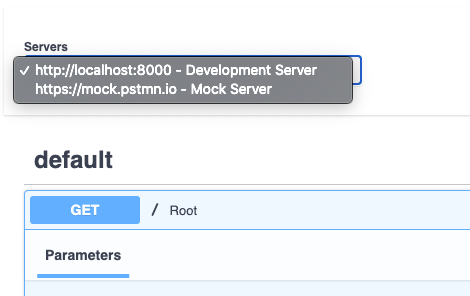
Previously, when I used the Try It Out! button, the specification sent our development server a request. We can add other servers to test on in our documentation by passing in an array to the server's argument.
# ...

app = FastAPI(
    title="Related Blog Articles",
    description="This API was built with FastAPI and exists to find related blog articles given the ID of blog article.",
    version="1.0.0",
    servers=[
        {
            "url": "http://localhost:8000",
            "description": "Development Server"
        },
        {
            "url": "https://mock.pstmn.io",
            "description": "Mock Server",
        }
    ],
)

# ...
In the documentation, we can now select the server to send the response to.
Later, when it's time to put the API into production, we can add additional servers.
Those modifications were simple but very useful in building out the docs. Next, let's look at the arguments and values that we can pass to our routes to convey better information.
Adding Paths
Before adding the second path, I'll show you how to modify the information for an individual route.
Similarly to the FastAPI() object initializer, we pass arguments the @app.get() function to include information about the specific route.
# ...

@app.get("/", name="Index", summary="Returns the name of the API", tags=["Routes"])

#...
The arguments are:
- name is the name of the route
- summary describes what the route does
- tags let us group routes in the documentation
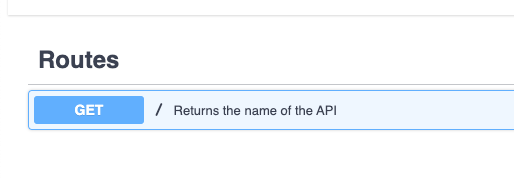
The Index route now has a summary and is under the general Routes section.
Create /article/related Route
Although the original spec contained a few different routes and methods, the end API only turned out to have one route and one method.
Let's define the new route and pass in a few more parameters:
- response_description describes the response object
- responses is a dictionary where we can add more response data, like an example 200 status code object or a 404 status code example with a description
# ...

@app.get(
    "/article/related",
    summary="Finds related article IDs.",
    description="Generates a kNN model from all the articles on the blog.\
        The clusters are based on categories, sub-categories, and tags.\n After the clusters are created,\
            three IDs are selected from the cluster that the submitted ID belongs to.",
    response_description="List of article IDs.",
    responses={
        200: {
            "content": {
                "application/json": {
                    "example": {
                        "ids": [
                            "96caaf28-48d2-4a9a-8a3f-9e96ca333e90",
                            "19be8556-7742-41a3-b22d-5cf4676674f4",
                            "da7d5941-a78f-44a8-b63b-18b460640c92",
                        ]
                    }
                }
            },
        },
        404: {
            "description": "Article ID not found in model.",
            "content": {
                "application/json": {
                    "example": {"message": "Article ID not found in DataFrame"}
                }
            },
        },
    },
    tags=["Routes"],
)

# ...
Finally, we need to add the function that returns the article IDs. We do this below the route definition.
@app.get(
  "/article/related",
  # ...
)
async def get_related_articles(id):
    return [
        "96caaf28-48d2-4a9a-8a3f-9e96ca333e90",
        "19be8556-7742-41a3-b22d-5cf4676674f4",
        "da7d5941-a78f-44a8-b63b-18b460640c92",
]I won't be covering the async and await keywords in this project. However, you can read more about coroutines and tasks in the Python docs.
Now we can view the example responses on the docs page.
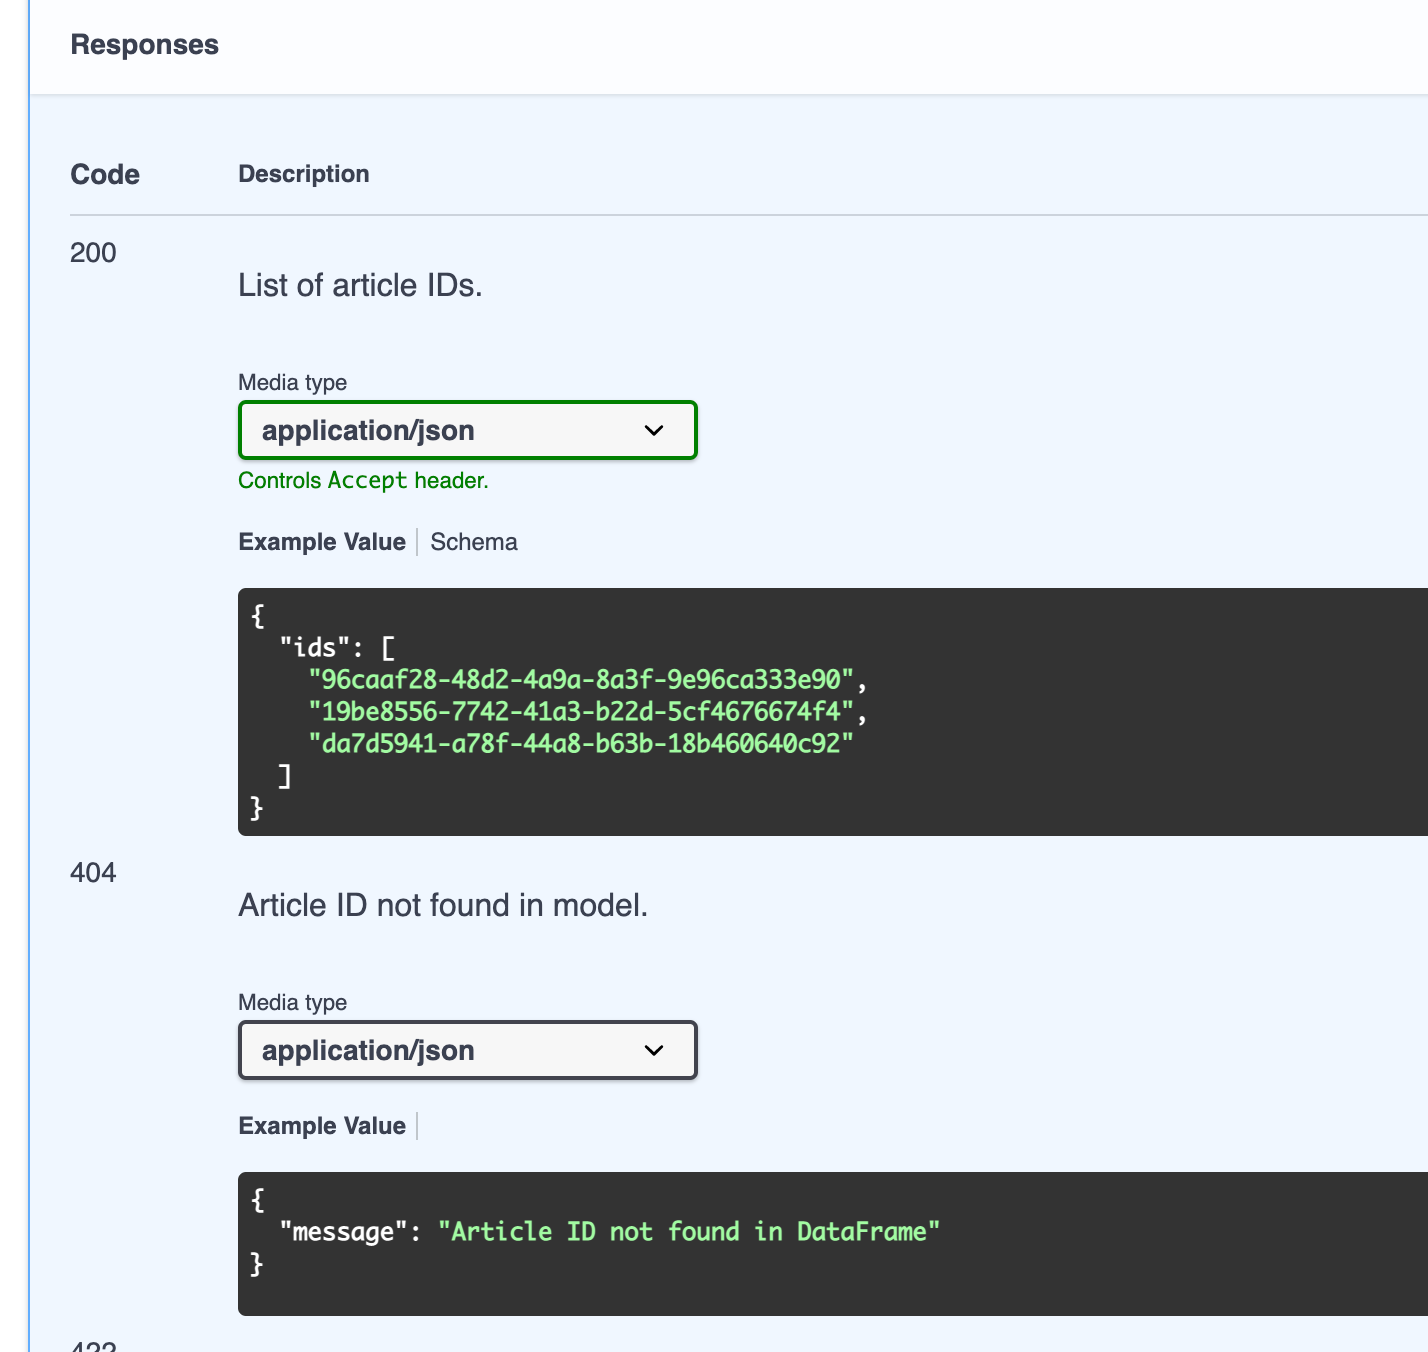
In this tutorial, the route will return the example IDs because I won't be explaining the model and how (in the actual API) I am generating the related IDs.
If you visit http://localhost:8000/article/related in the browser, you should get the error:
{"detail":[{"loc":["query","id"],"msg":"field required","type":"value_error.missing"}]}
FastAPI is BIG on schema validation. If you're not familiar with typing and schema validation in Python, it won't take long before you're comfortable with it using FastAPI. This is because you're going to type and validate everything (pretty much).
This is a major feature of FastAPI. Notice that it returned (without us doing anything) the query parameter that was missing, id.
Check out the typing intro in the FastAPI docs.
We made this parameter required when we added it as an argument to the get_related_articles function.
Passing an ID to the article/related URL should return the list of IDs in the return statement.
http://localhost:8000/article/related?id=123
Add Typing and Schemas
FastAPI gives us the ability to type incoming parameters in the route function definition.
# ...

async def get_related_articles(
    id: str
):

# ...
Subsequently, we can check the type of an incoming query (or path) parameter despite it because passed across the network as a string. This example does not demonstrate the
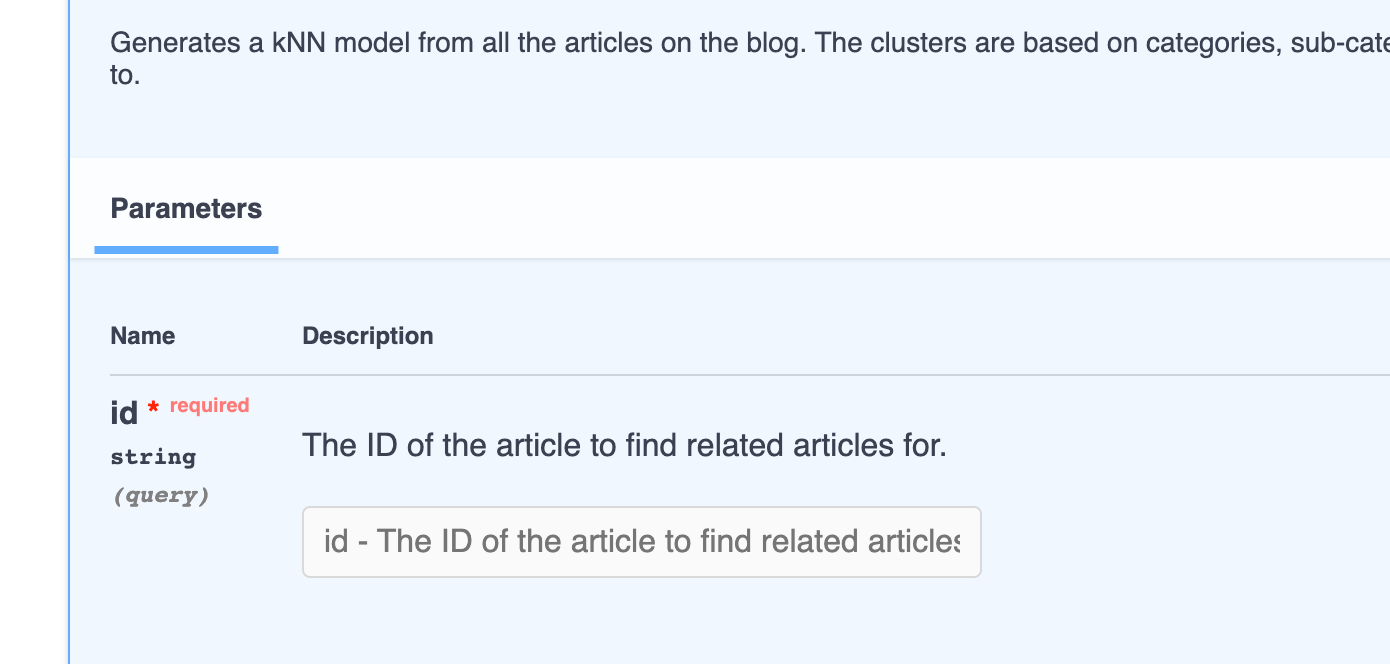
To add a description to the docs' query parameter, set the parameter type equal to the Query constructor provided by FastAPI.
from fastapi.param_functions import Query
# ...

async def get_related_articles(
    id: str = Query(..., description="The ID of the article to find related articles for.", title="Article ID"),
):

# ...
In the docs, we now have a description for the parameter.
Schemas
You may have noticed that our API docs do not have schemas defined, although we have examples.
FastAPI gives us the ability to type our response objects and request objects. The framework uses pydantic and starlette to help with the process.
The first thing to do when adding a response model to a route is to import the necessary models. Then, we create a class and pass in BaseModel.
from pydantic import BaseModel
from typing import List
#...

class RelatedArticles(BaseModel):
    ids: List[str]

# ...
Next, we add the class to the response_model argument for the route definition.
# ...

@app.get(
    "/article/related",
    # ...
    response_model=RelatedArticles,
    # ...
)
# ...
For example, change the return value for get_related_articles function to a number. Save the file and try to hit the route passing in an ID (http://localhost:8000/article/related?id=123)
You should get an internal server error, and the validation error should log to the terminal where your FastAPI server is running.
    raise ValidationError(errors, field.type_)
pydantic.error_wrappers.ValidationError: 1 validation error for RelatedArticles
response
  value is not a valid dict (type=type_error.dict)
This validation feature is perfect for stopping bugs and enforcing the API contract.
If you changed the return value to a number, change it back to the list of IDs.
There's now a schema for the route in the documentation.

This is only the tip of the iceberg in terms of the level of type checking that you will do in FastAPI.
Next Article
We made some big improvements to the API and the documentation in this article. Feel free to create your own routes, experiment with the type checking, or leave it as is.
In the next article, we'll add middleware and API key security using the Authorization header.


